Chili Peppers: Making Sauces and Flakes - part 1
This post is primarily a learning diary and a bit of a recipe book secondarily - try at your own risk, and remember to search for more information online!
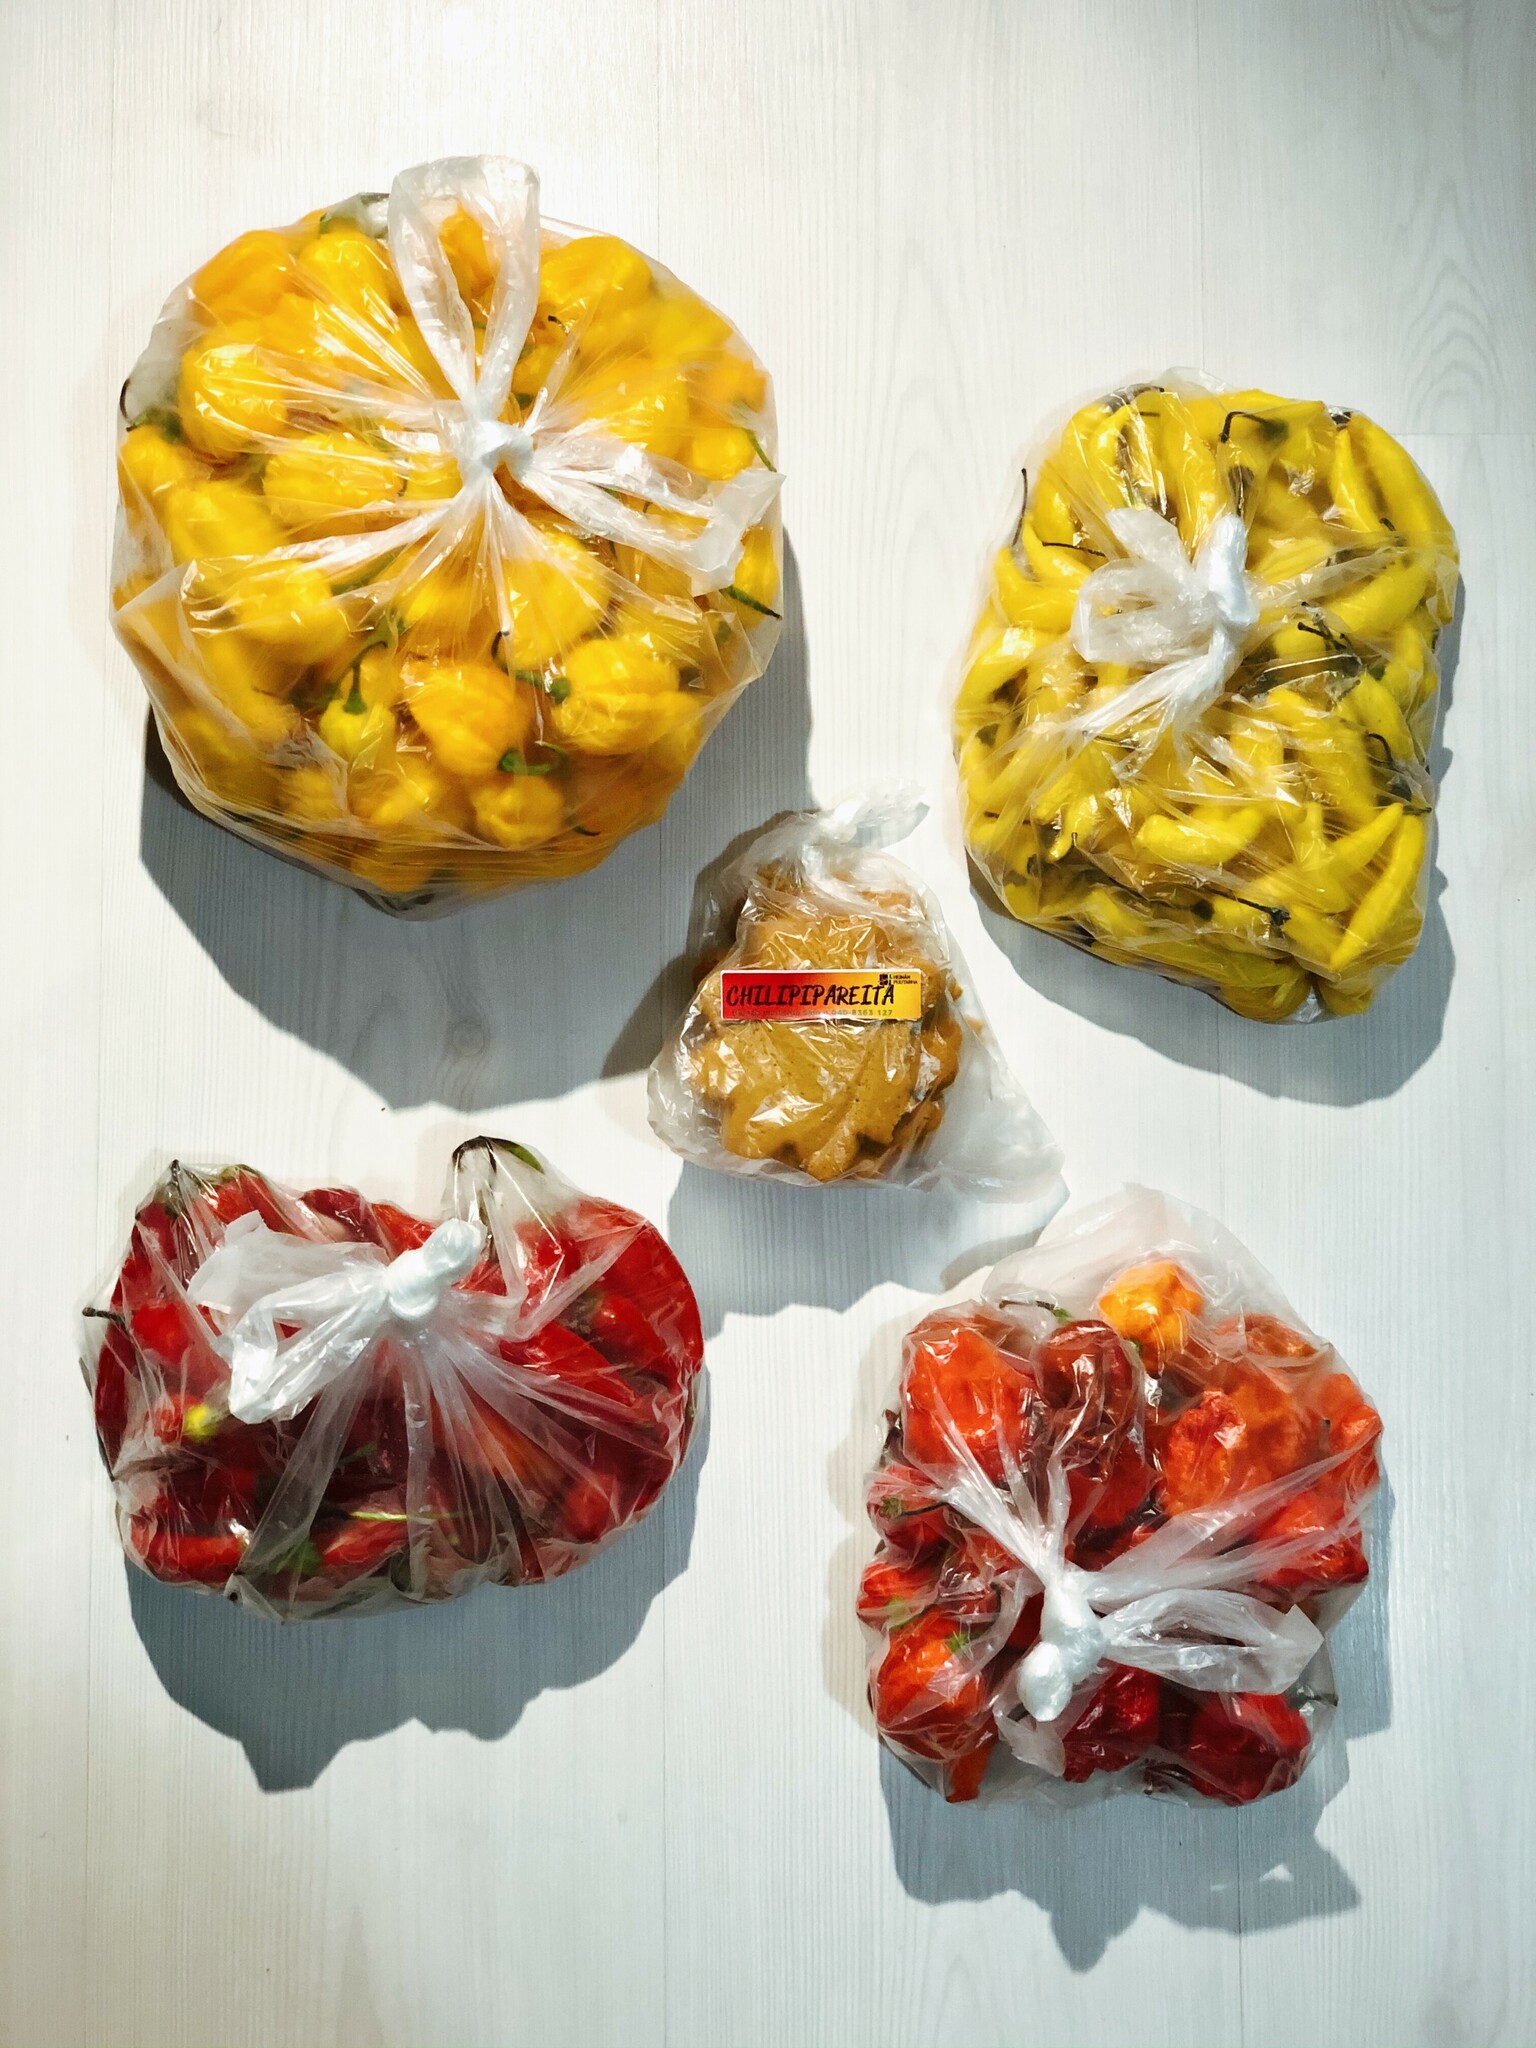
I decided I wanted to try my hand at processing some chili peppers: making my own sauces, flakes, and others. I ordered a bunch of varietals from Heinän Puutarha, for a total of 2 kilograms of fresh chili peppers. Four bags of chili peppers, left to right top to bottom: 1kg of Scotch Bonnet, 400g of Lemon Drop, 400g of Aji Cristal and 200g of Carolina Reaper. In the middle of the picture, some extras sent by the seller: gingerbread cookies with chili in them.
Fermented Scotch Bonnet Sauce, part 1
This recipe I am the least certain of, as it is still ongoing fermentation. See below for more certain recipes, and/or check back later for a part 2!
- 500g of fresh Scotch Bonnet peppers
- 1L of water
- 25g of salt
- fermenting jar(s), I used a single 1.4L jar
- ingredients to be continued in part 2
- 2 weeks or more time
- makes ??? of sauce, waiting for part 2
Fermentation has been used for ages to preserve food safely over time. In addition to foods like kimchi, sauerkraut and others, it is popular for making hot sauces. This recipe / attempt is roughly based on some instructions in ChiliChump's Youtube channel.
Before starting, remember to maintain extremely high hygiene. Wash your hands and utensils thoroughly and sterilize what you can with boiling water, food-grade sanitizer, or whatever methods you have available.
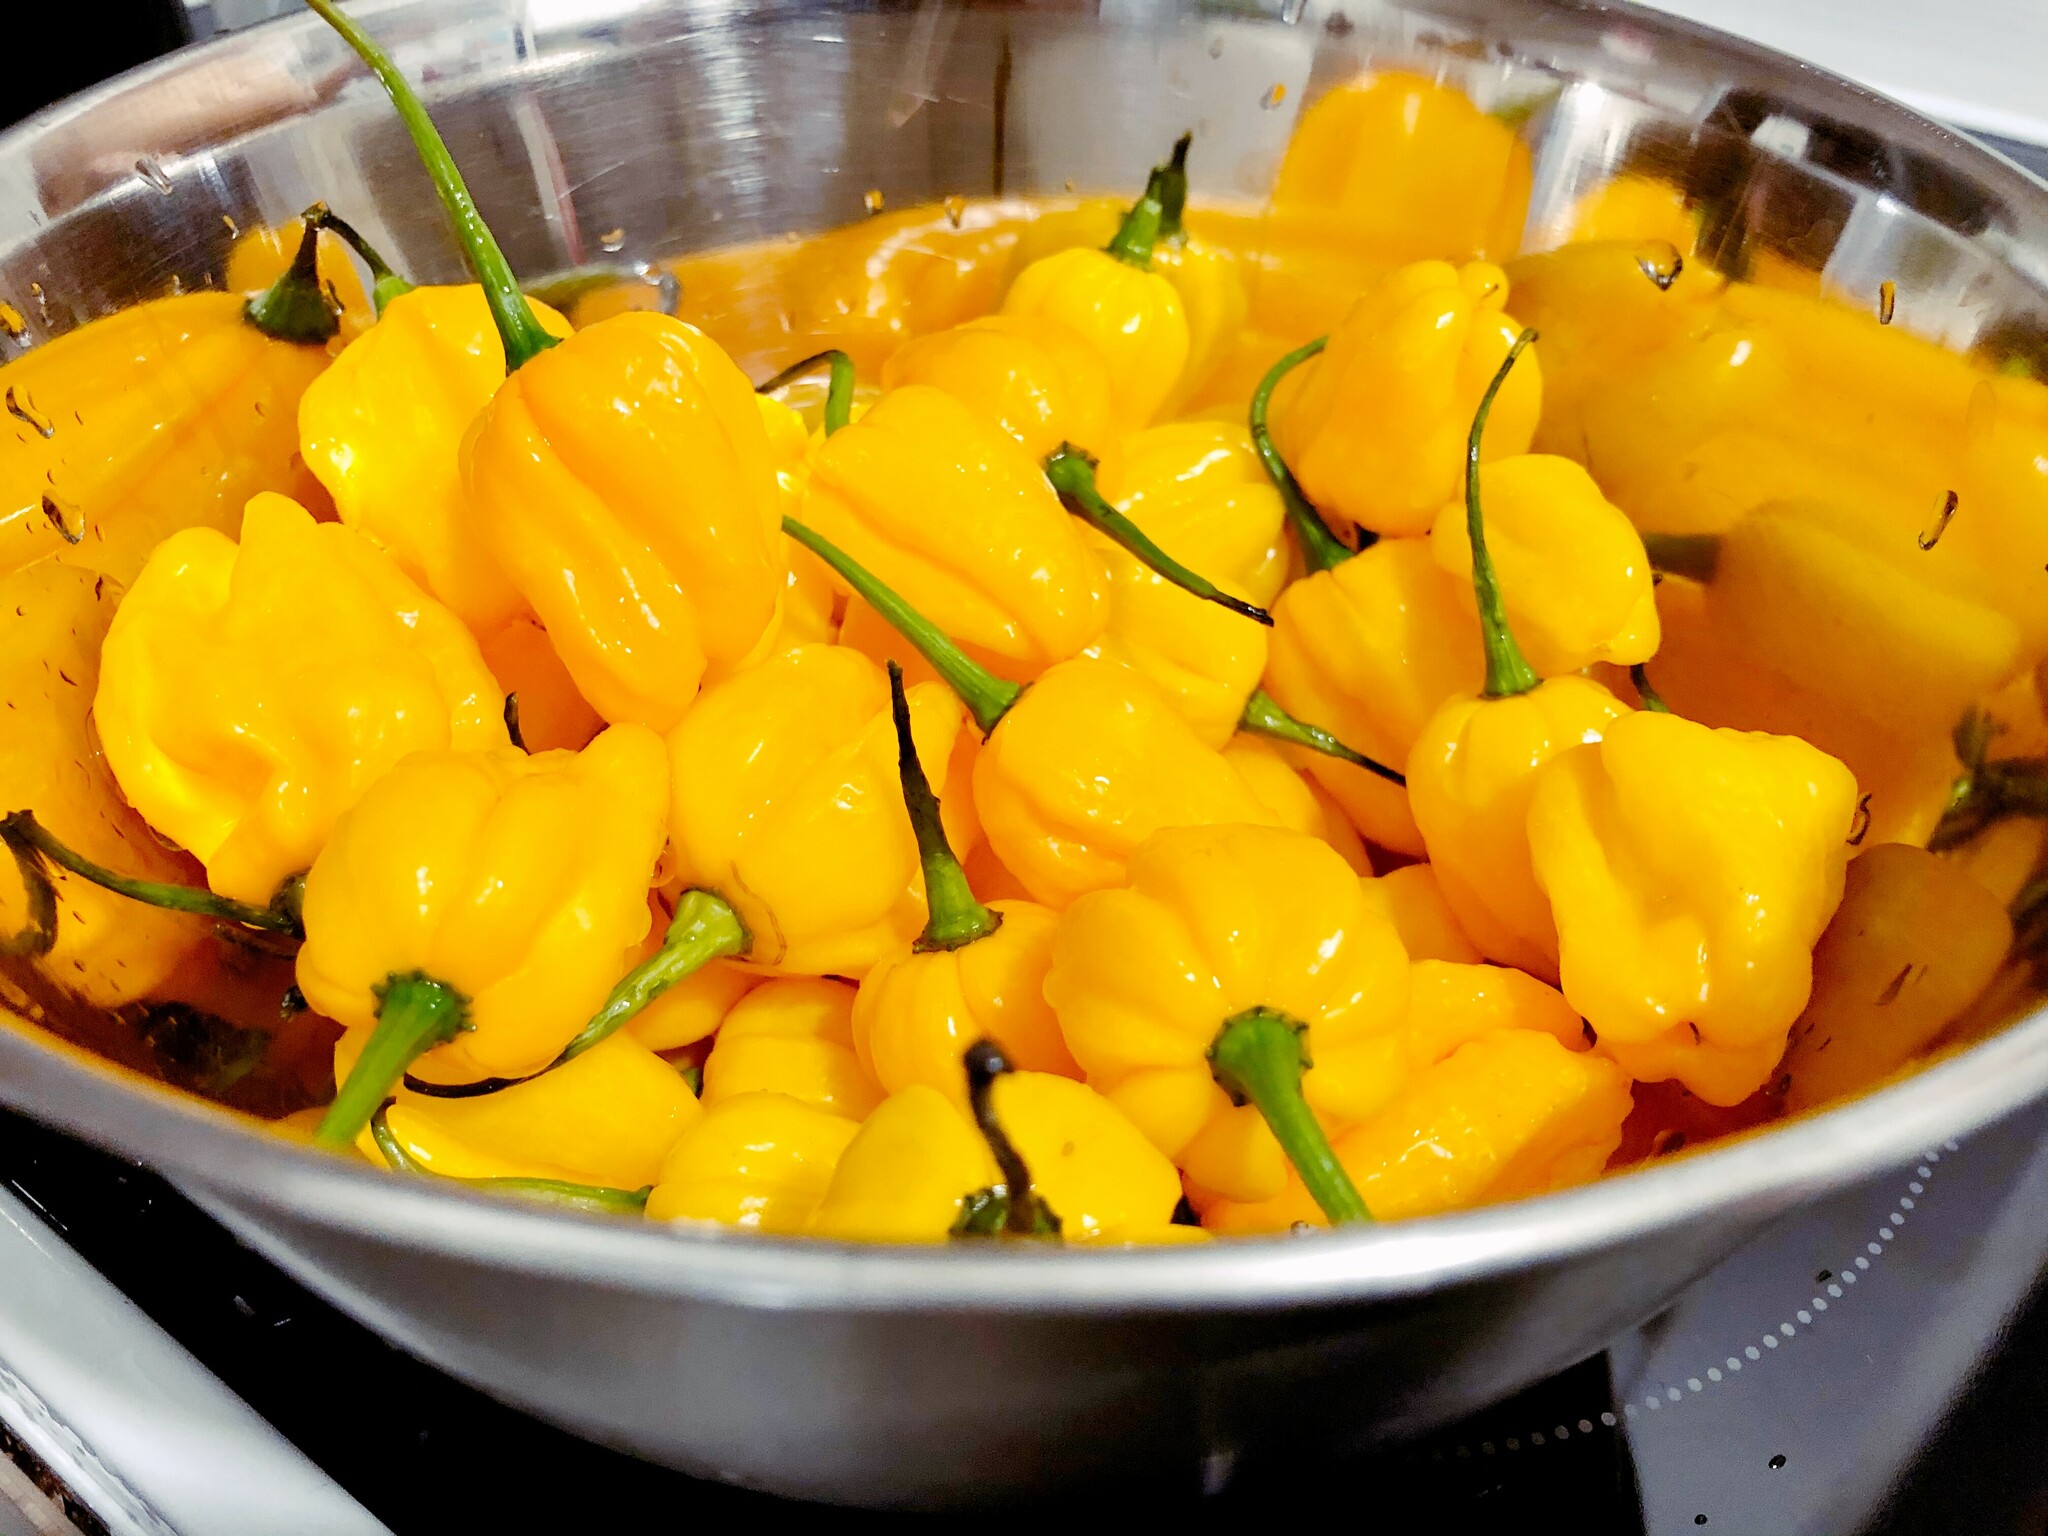
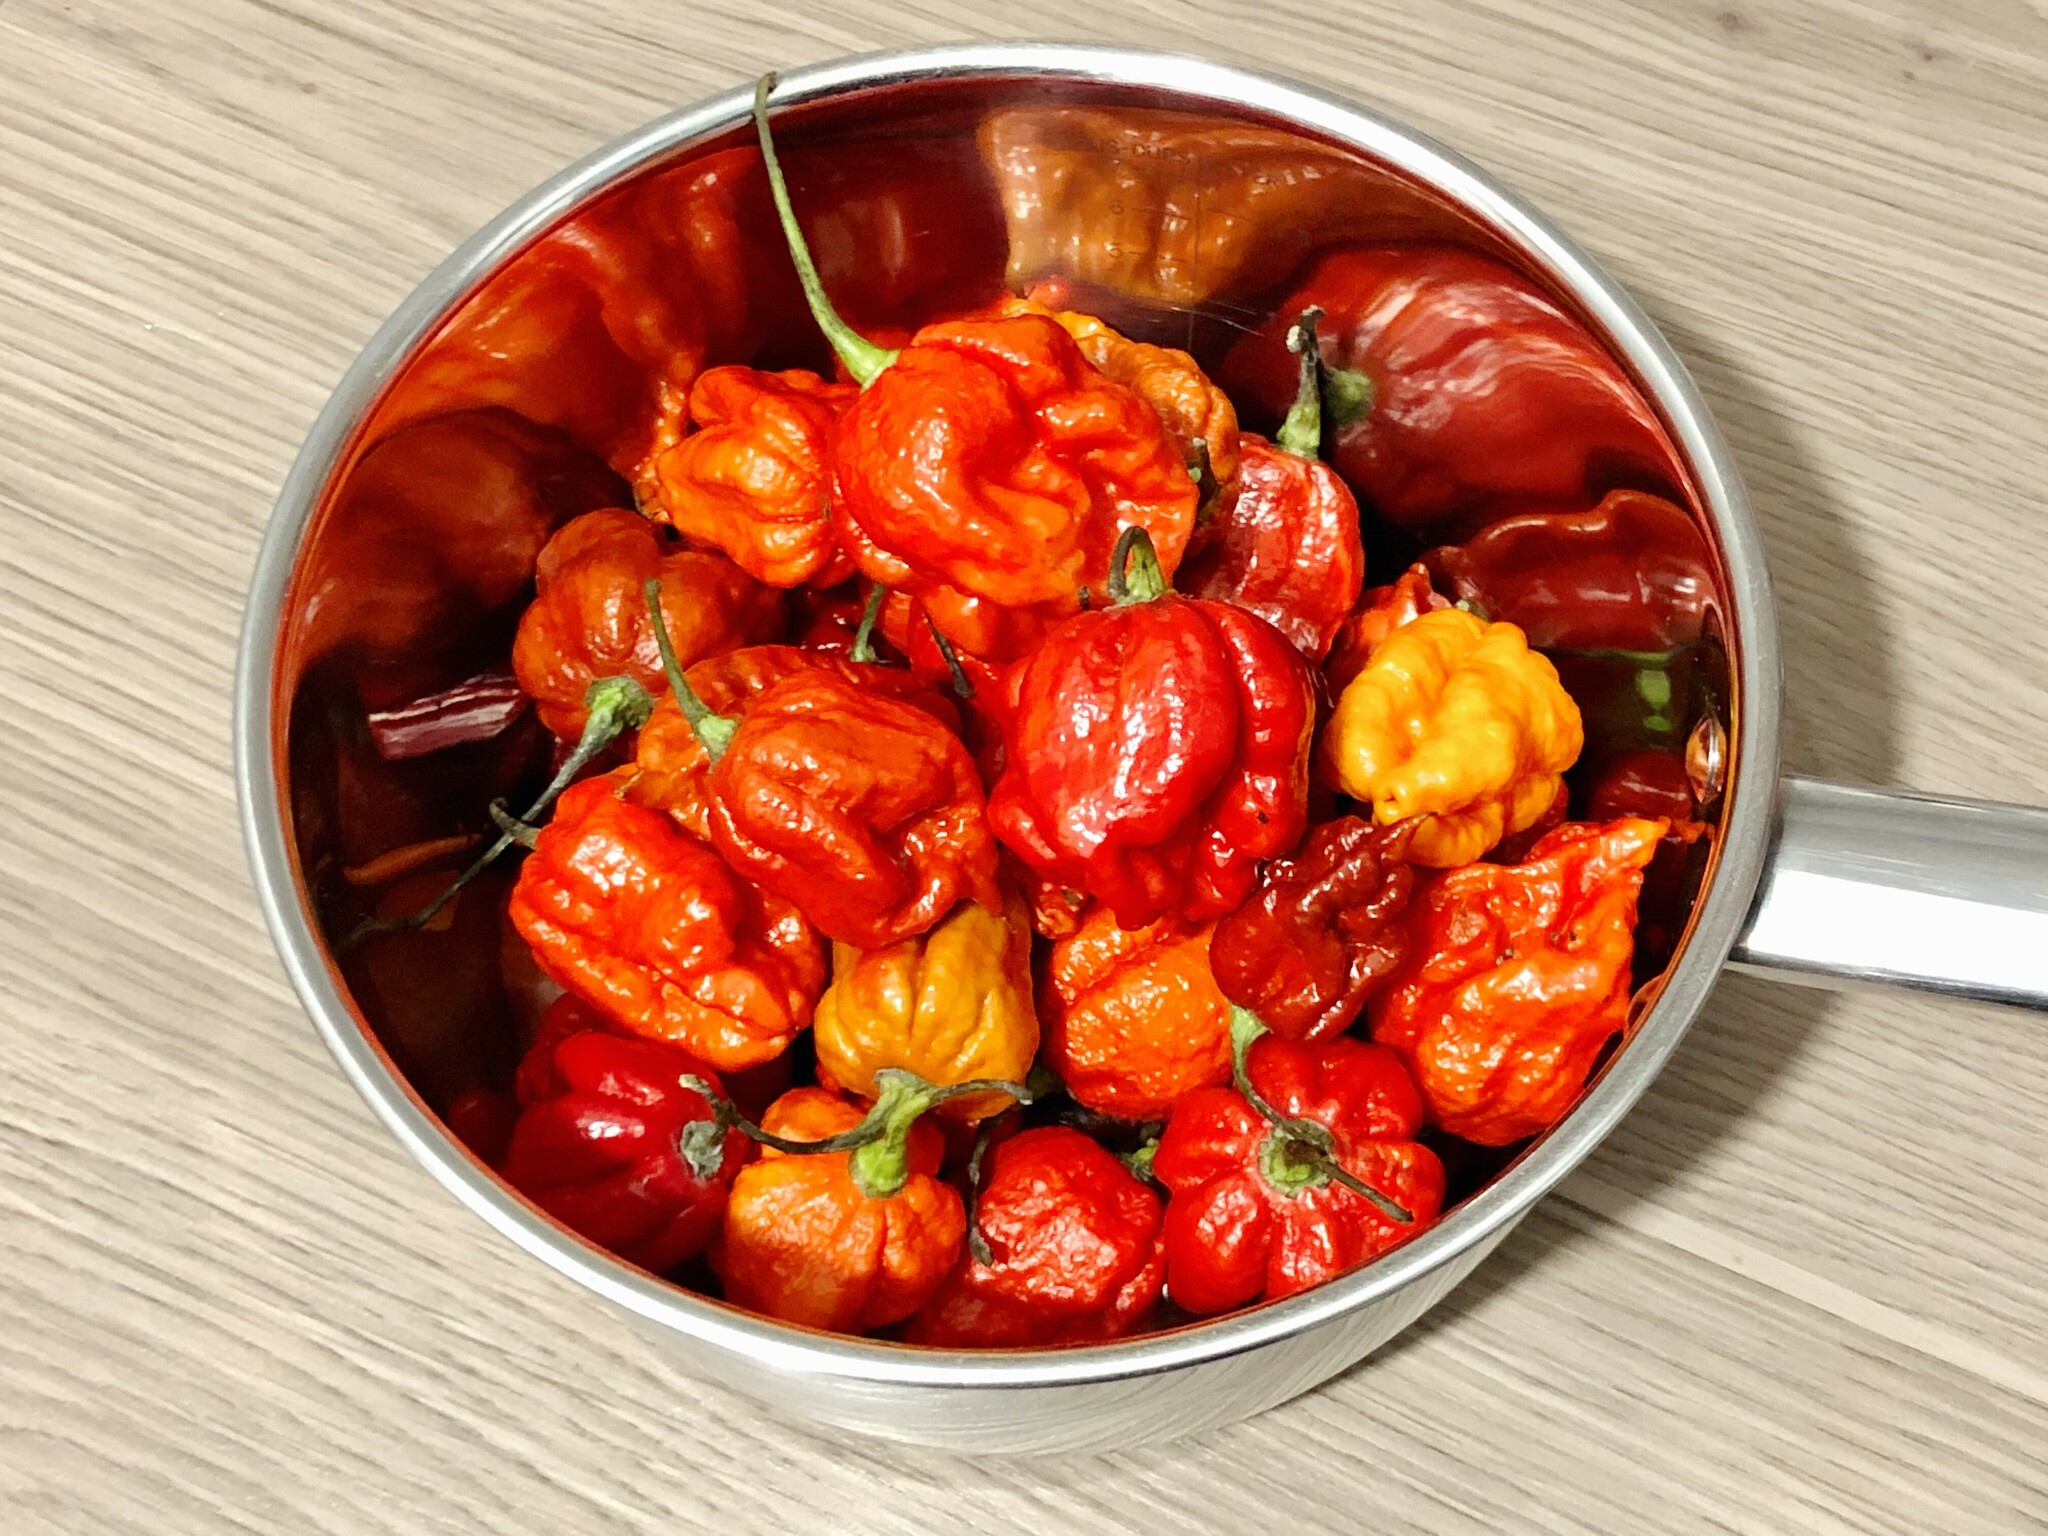
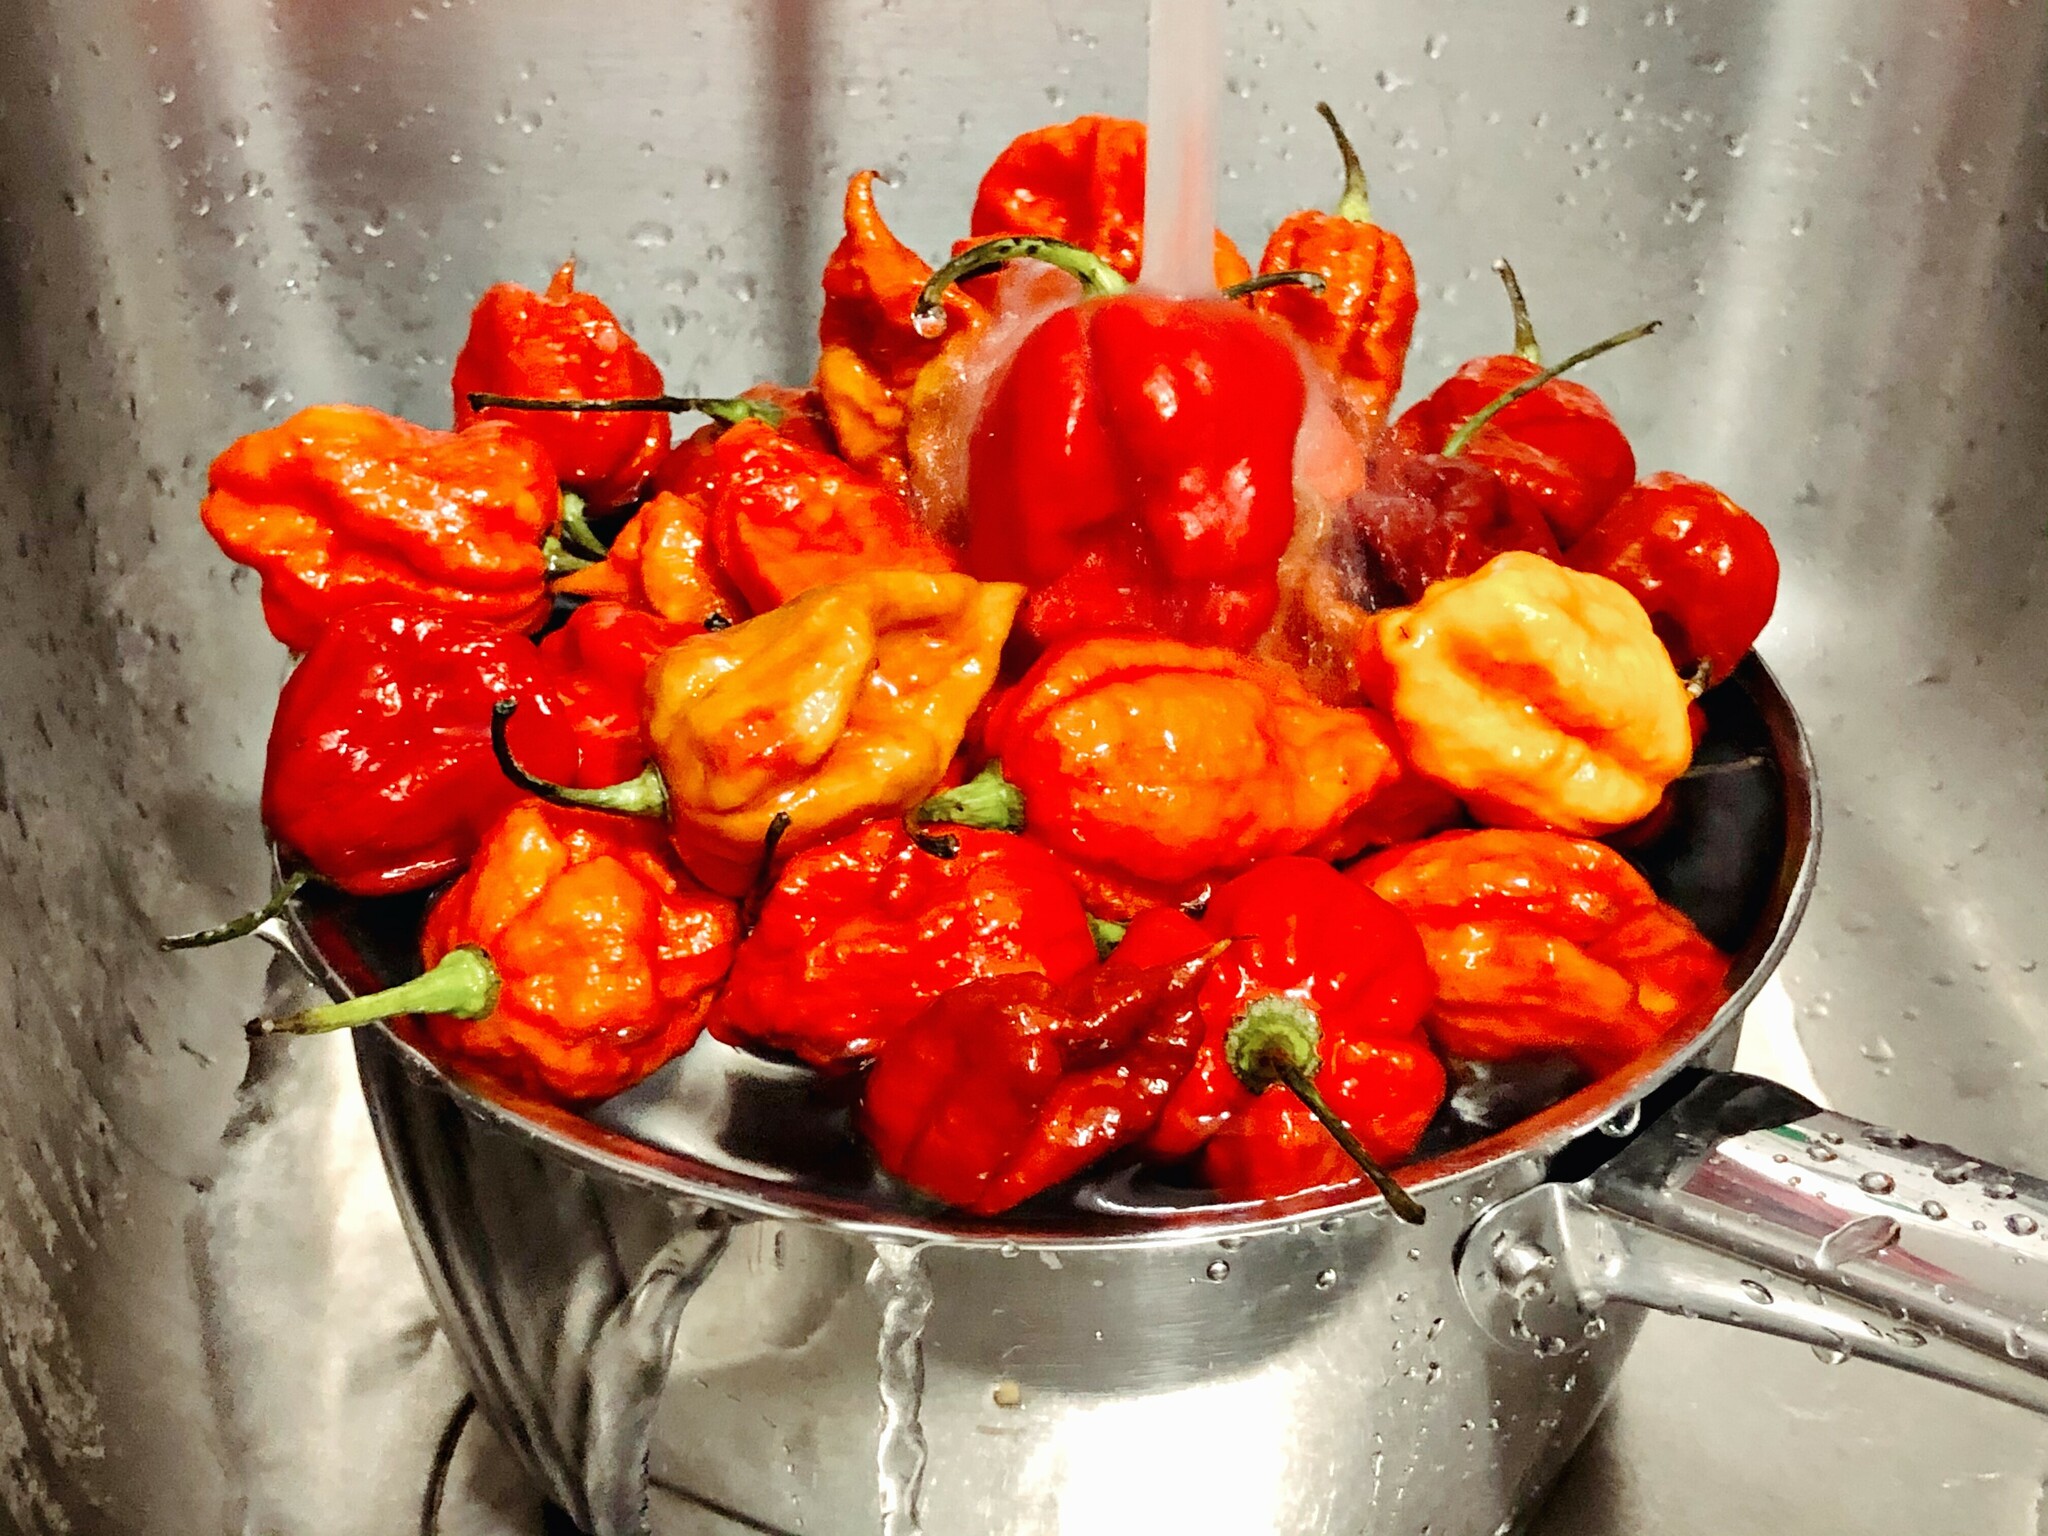
First up: washing the peppers and picking out any rotten, soft peppers or ones with any mold in them. Better to be safe than sorry: it's much nicer to throw out an extra pepper or two than to have to throw out your batch of sauce. Thankfully, this batch of Scotch Bonnet peppers was fresh and high quality - in the entire kilogram there were maybe five or so peppers gone bad.
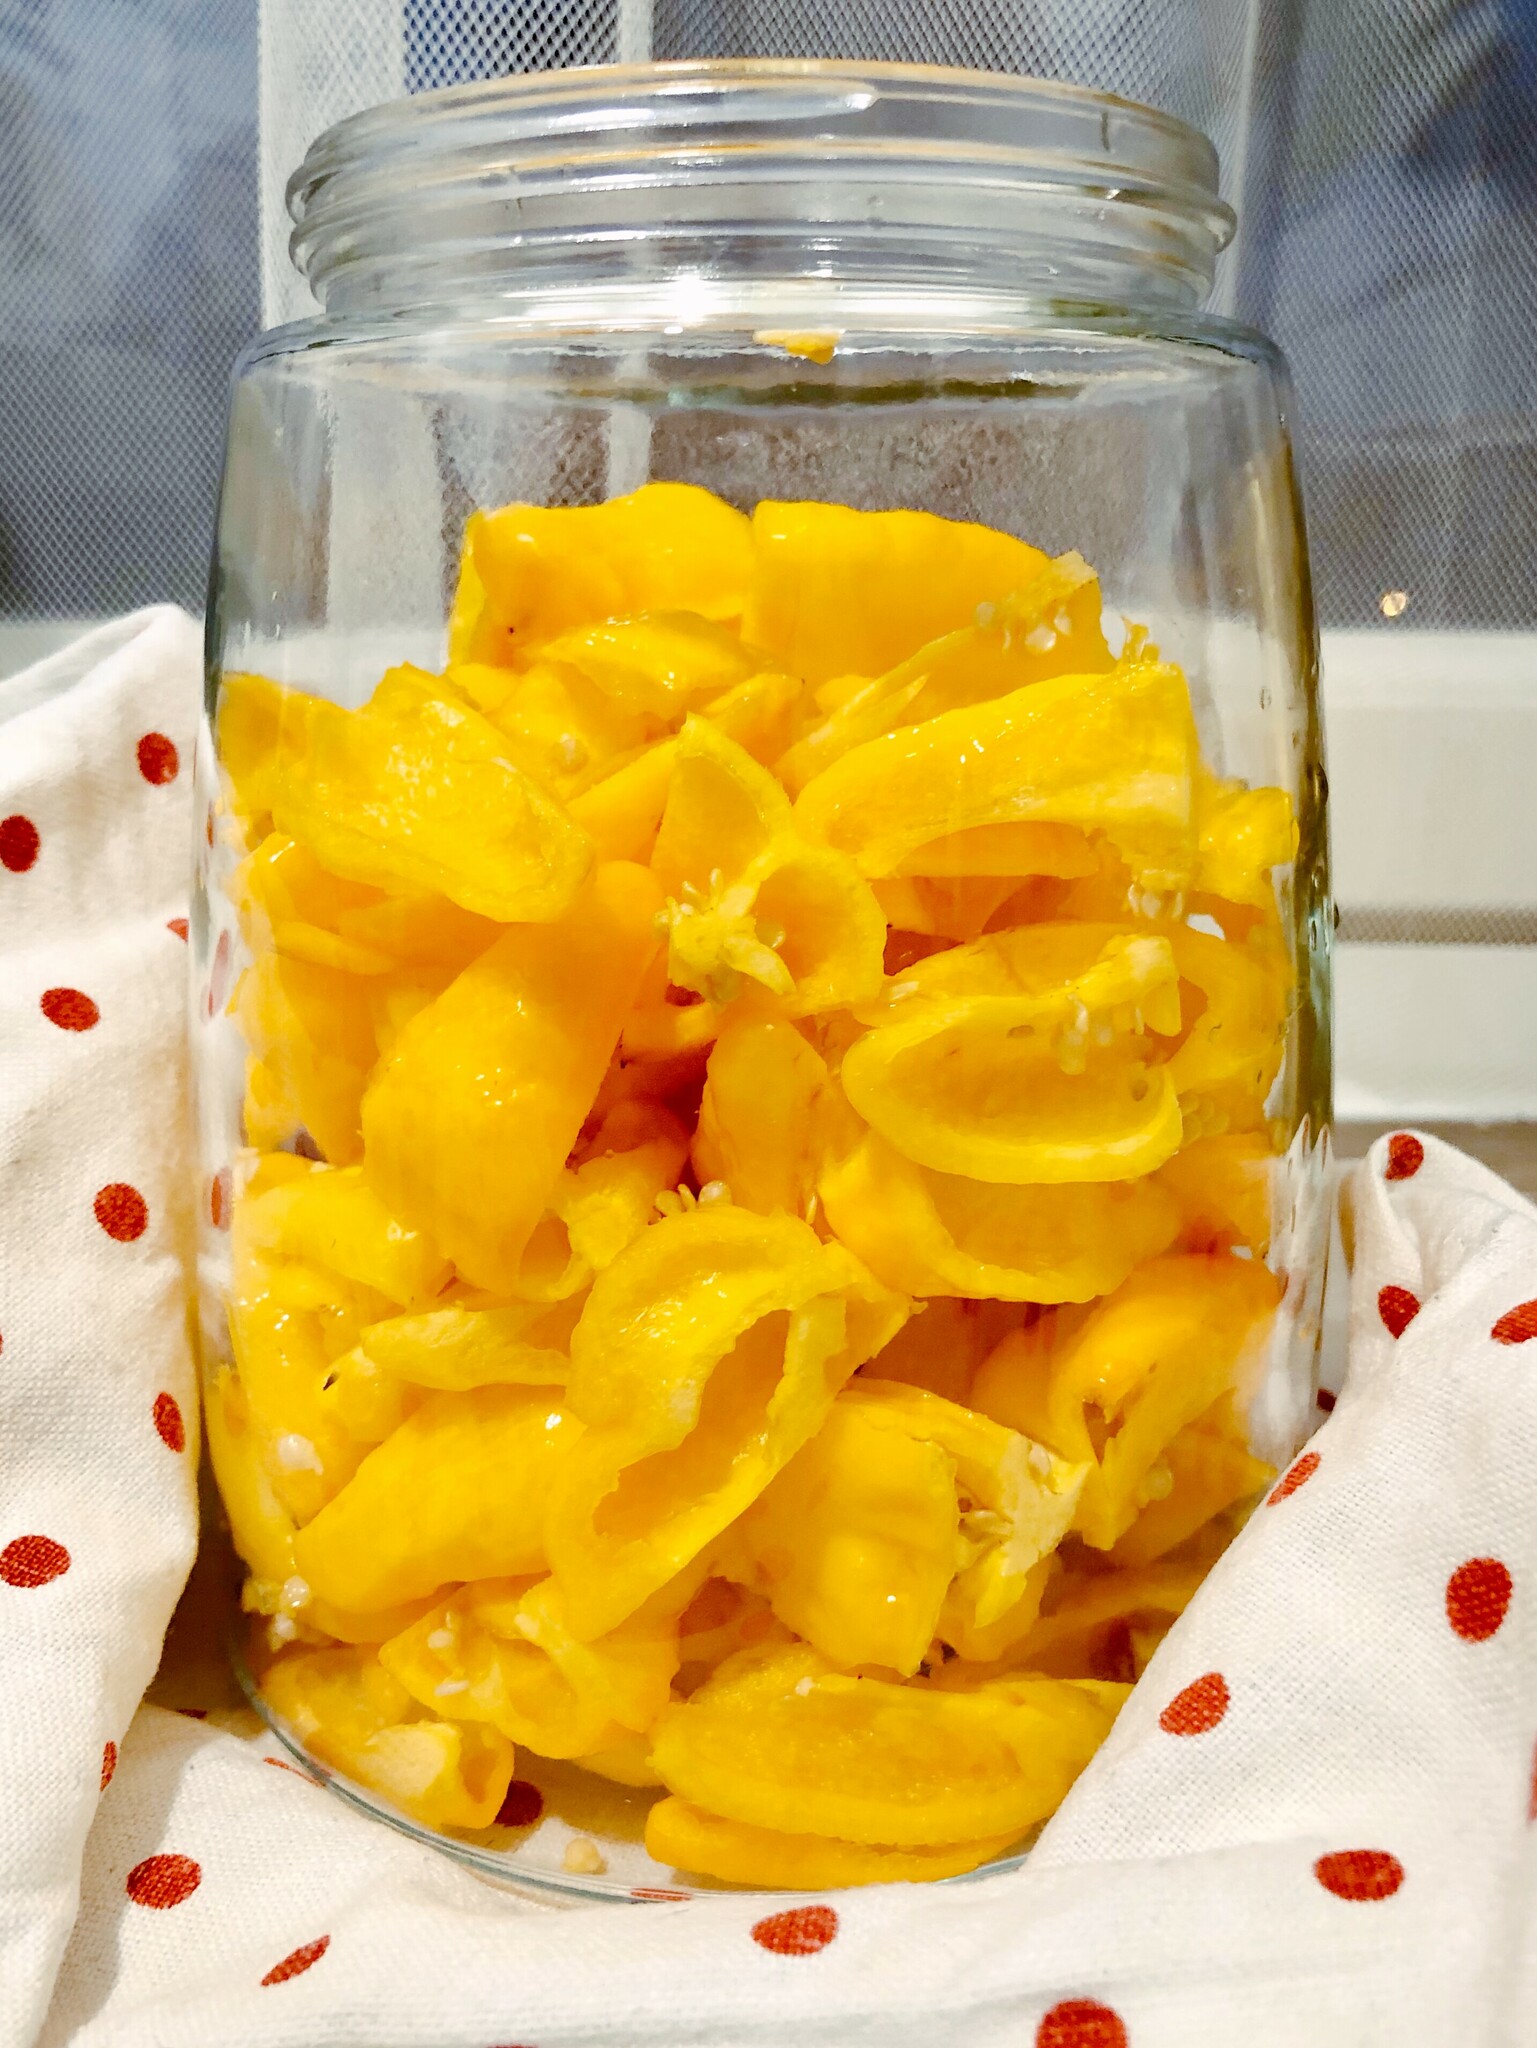
Next, cut the stems off and slice the peppers into quarters or so. No need to go extra fine. Put them into a fermentation jar. This is a glass jar with a lid that has a built-in airlock for letting out CO2 produced by the fermentation, but also keeps any air out. Many kinds of jars and lids are available, just look around online.
Make a brine with approximately 2.5% salt content. 1 liter of water is 1000 grams, 25 grams of salt should do1. Pour brine into the jar, almost to the top. Make sure all the peppers can be underwater: if necessary, remove a bit of the peppers. To keep the peppers underwater, add a weight of some sort. Some people use ceramic or glass weights made for the purpose, others use a half of an onion that will be discarded in the end. I used a small mini-grip plastic bag with a bit of water and a bit of air in it, it weighs the peppers down a bit to keep them below the surface, but also floats enough to stay at the top. Close the lid firmly, but remember you need to have an airlock of some sort.
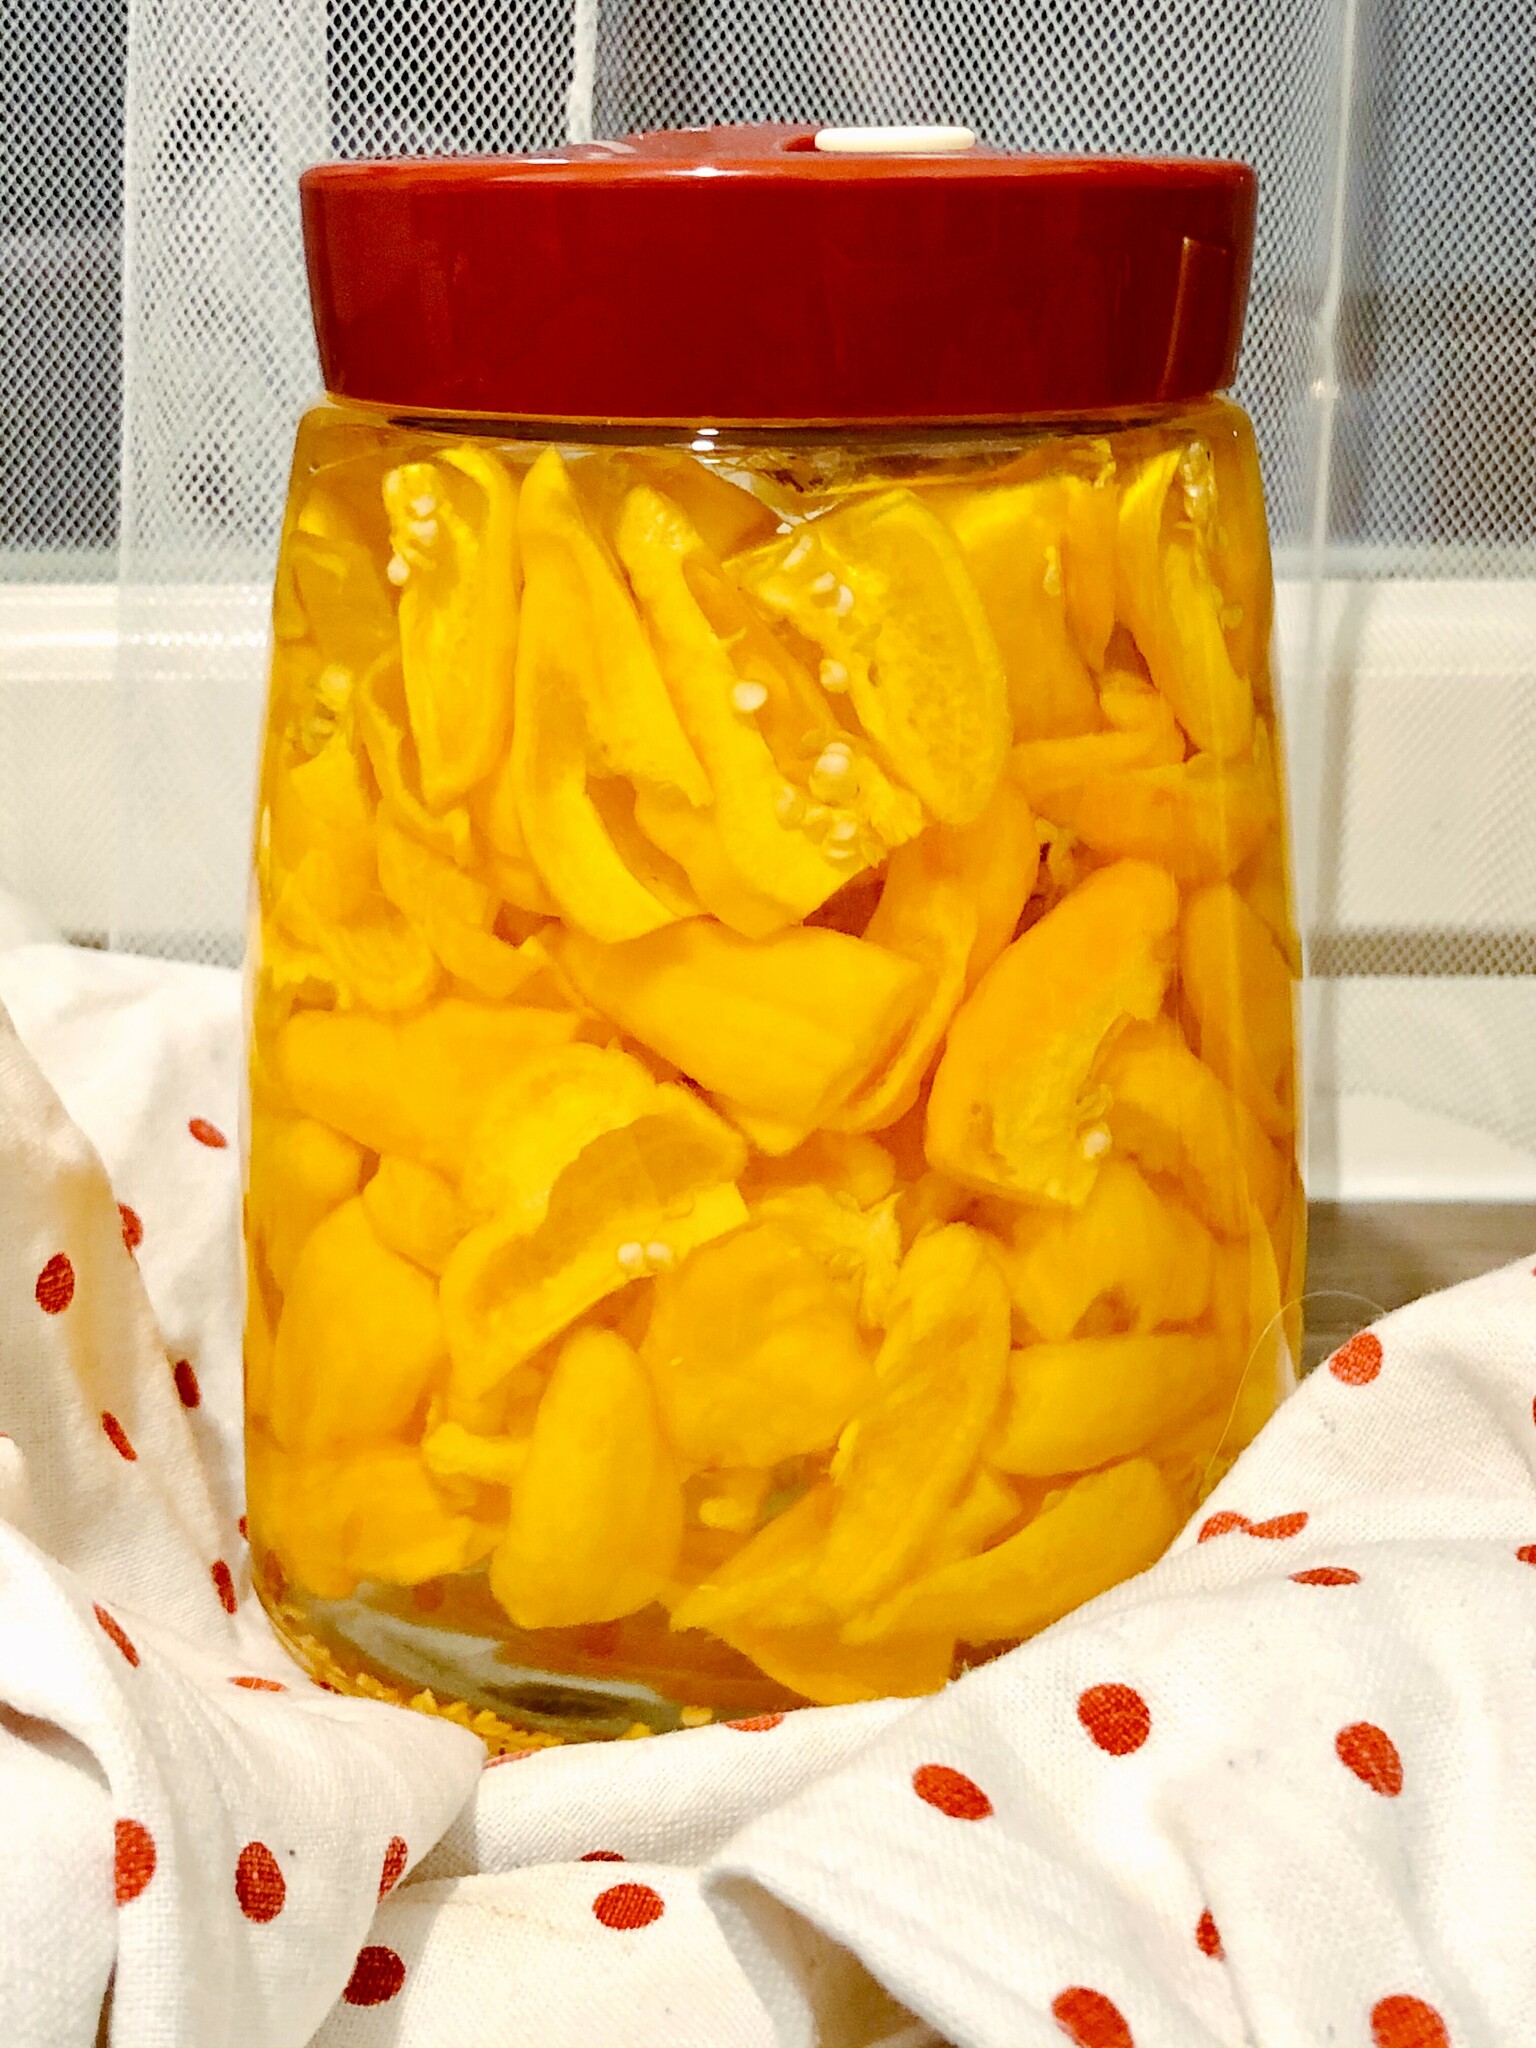
Now we wait. I'm going to let this sit in a safe, stable room-temperature place away from light for at least two weeks. Some people ferment only for a minimum of one week, others for a month or two, or even up to a year. I'll be checking the jar every few days to see how it develops: tiny bubbles should show up, and the brine could get a bit cloudy. The top might develop a tiny bit of a white layer known as kahm yeast which should be harmless and removed at the end of the fermentation. Search online for pictures and comments. This should be different from mold: if your fermentation grows a hairy top, it might be better to toss the whole batch.
Dried Chili Flakes: Carolina Reaper & Scotch Bonnet
- 200g of fresh Carolina Reaper peppers
- 200g of fresh Scotch Bonnet peppers
- 6-12 hours of time, or more
- makes roughly 20-25g of flakes for each variety
I ordered some superhot peppers: the Carolina Reaper. These were declared the world's hottest peppers in 20172, at 1.5 million Scoville Heat Units. Knowing that consuming those superhots would take quite a long time, I didn't want to make sauces of them and risk spoilage and waste. I decided to dry these up into flakes. Considering I had bought a whole kilogram of Scotch Bonnet, I decided to dry some of them as well.
Wash the peppers, throw out any suspicious ones. Again, thankfully this was also a great batch and there were only a couple of bad peppers.
Cut the peppers up: remove stems, slice into quarters or smaller. Especially any thicker sections should probably be sliced up more to speed up drying.
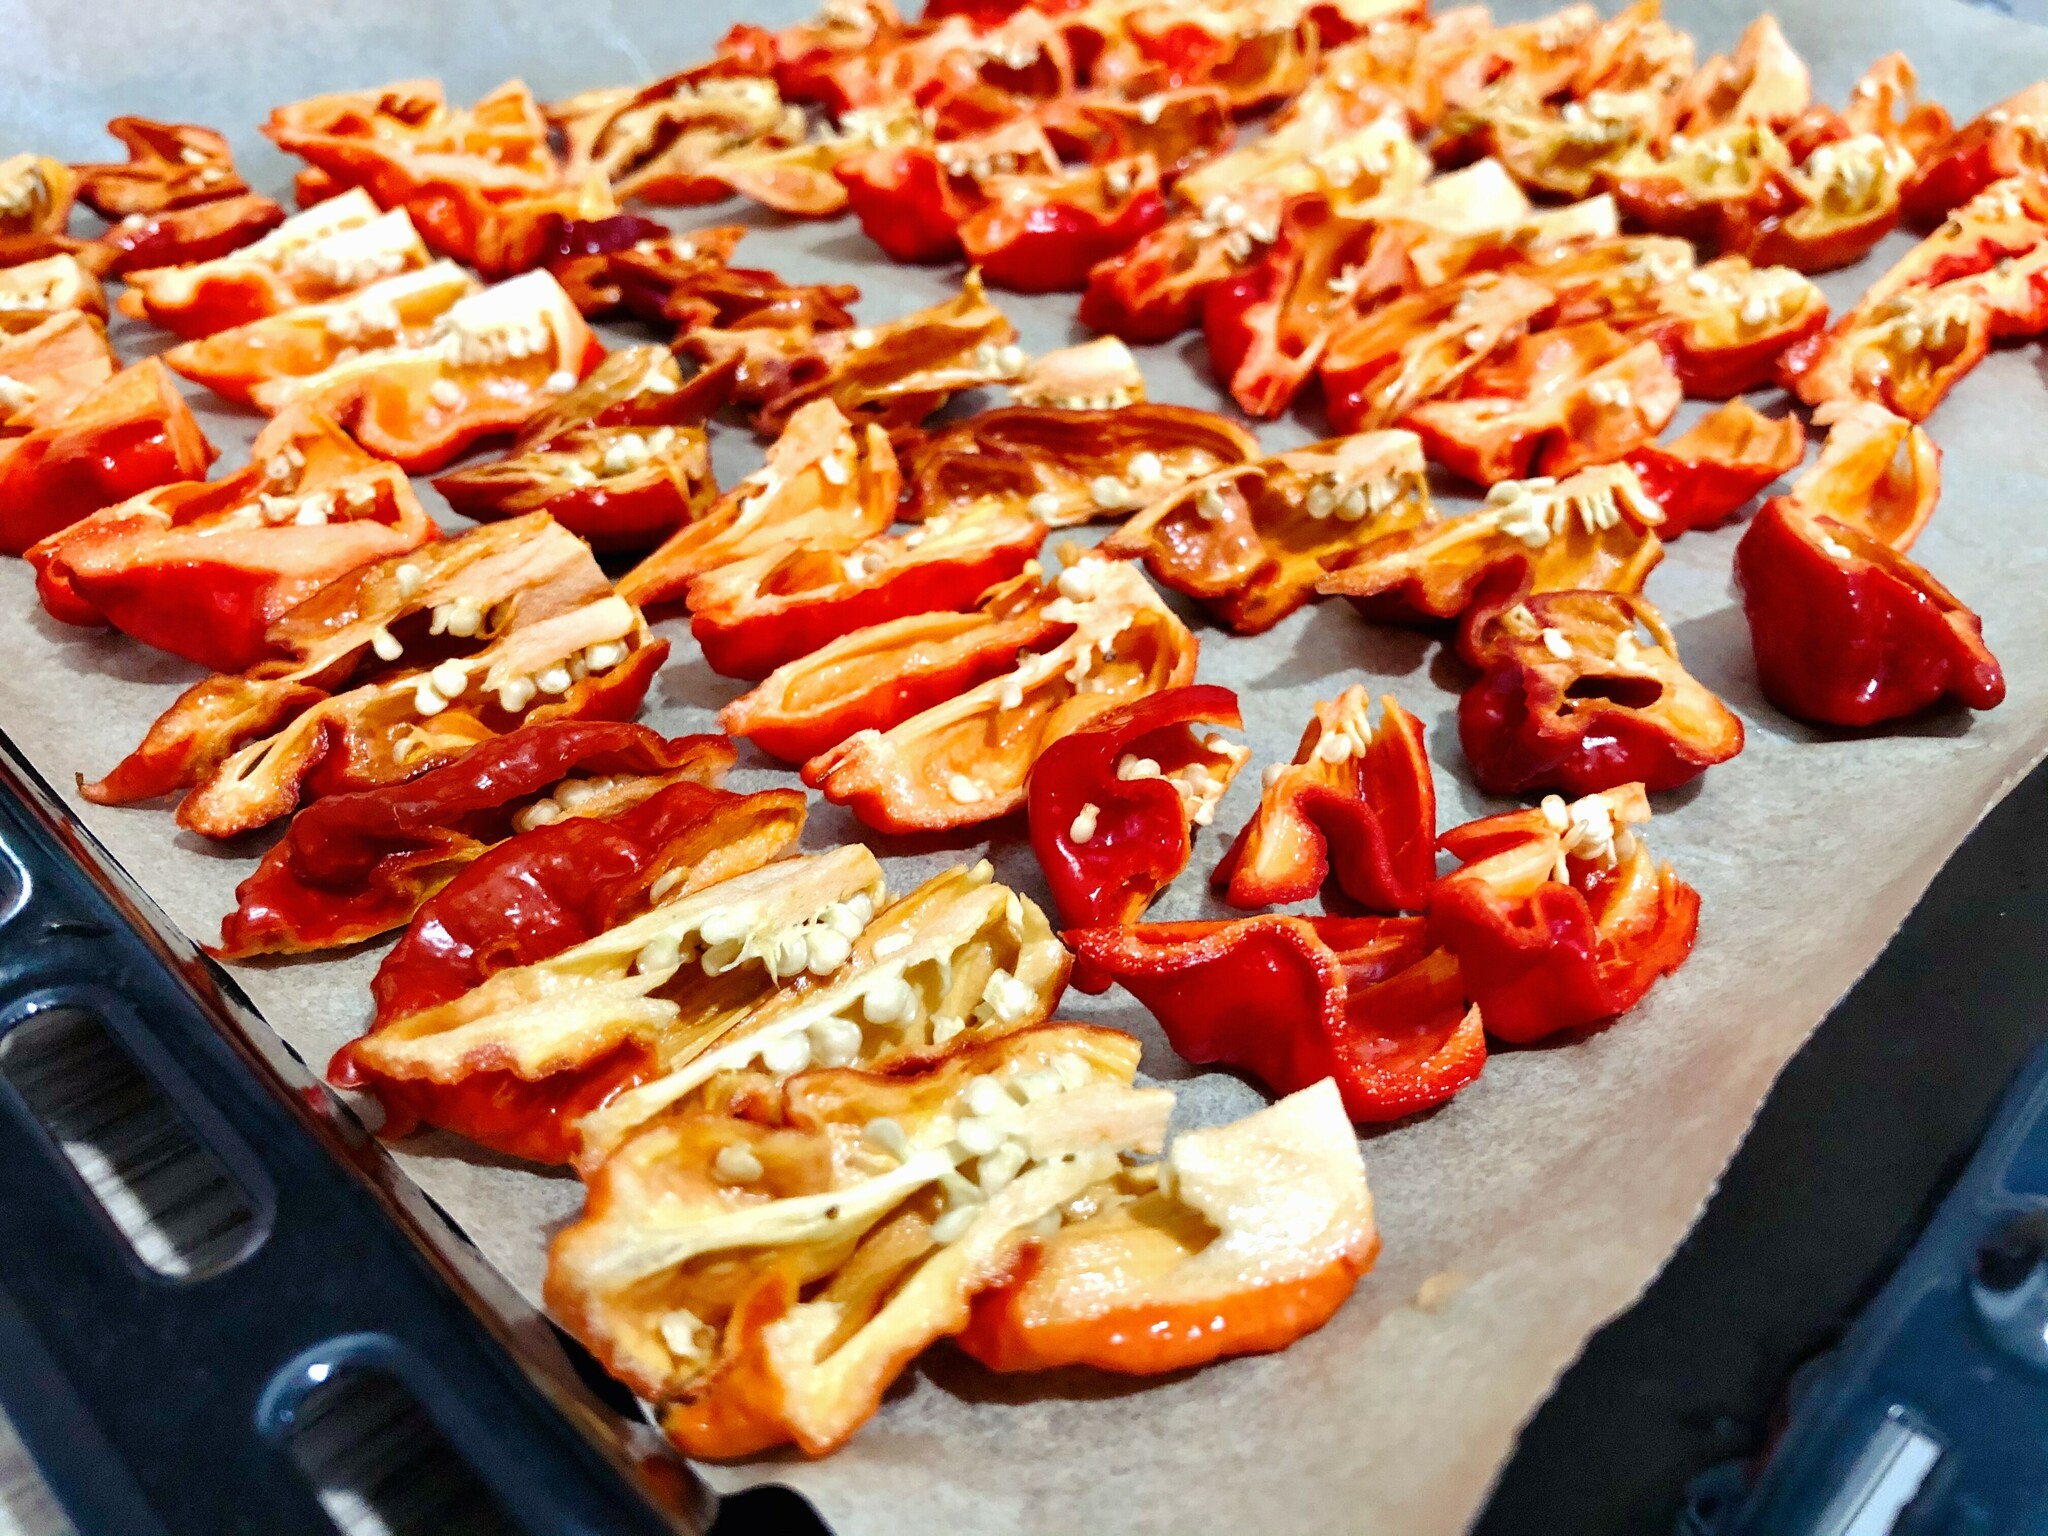

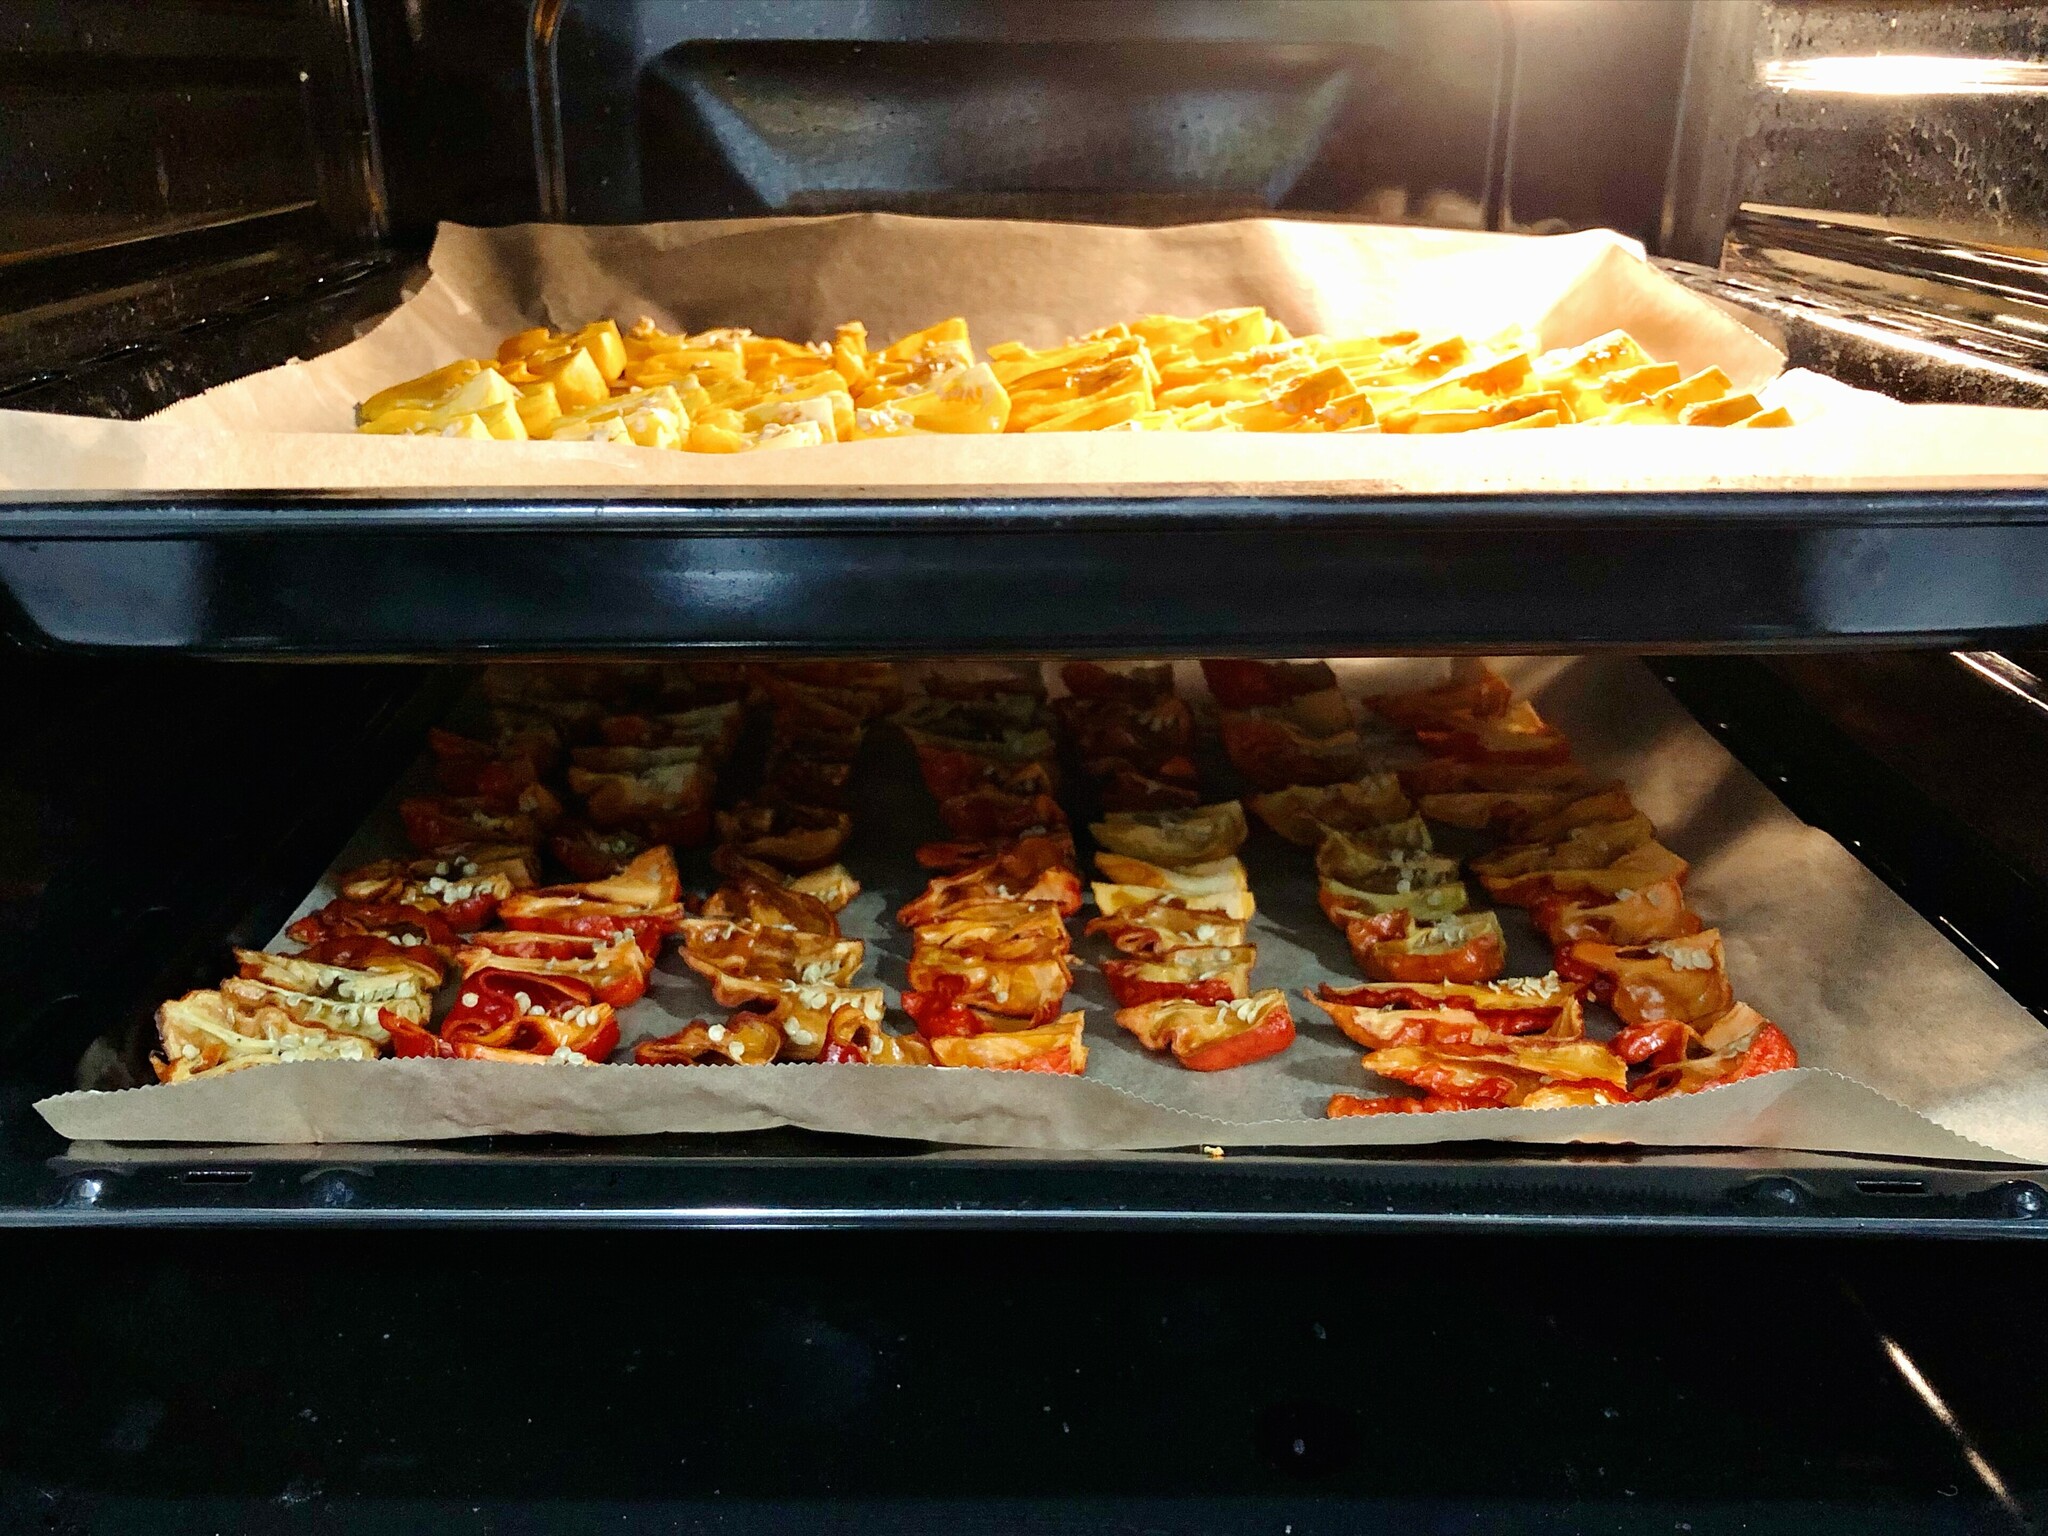
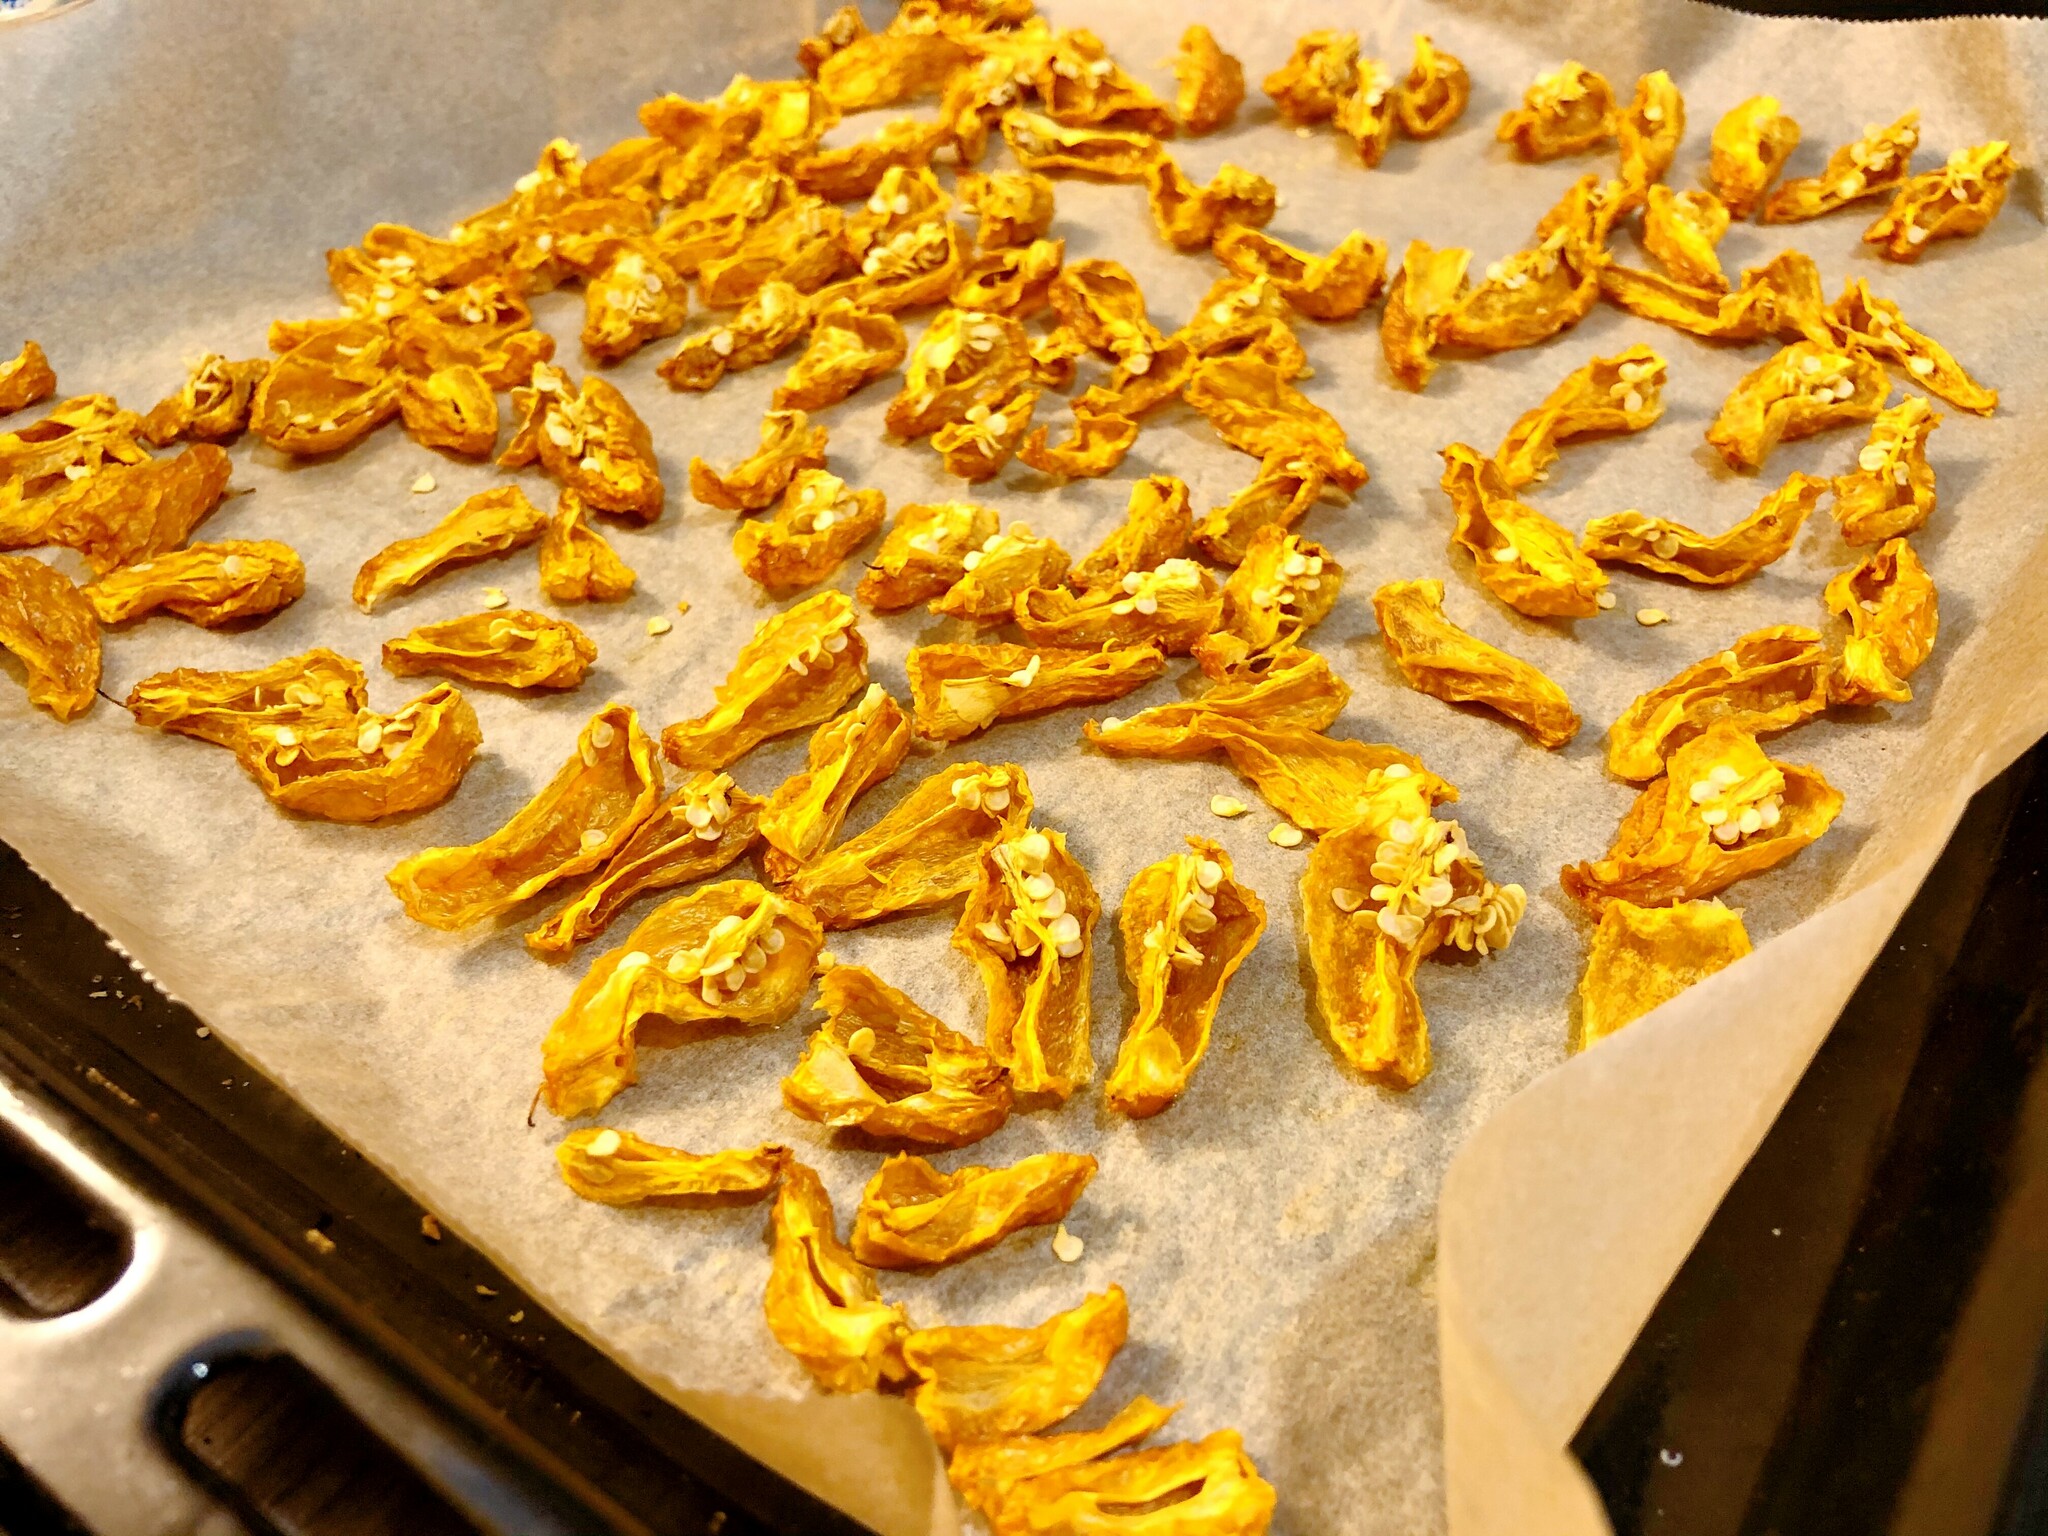
Oven set to 50C, with a wooden spatula keeping the door slightly ajar. Beware the spicy steam. The drying process will take a long time. Some instructions say 6-12 hours. In my case with these peppers sliced up this way, it ended up taking a total of 10 hours. Keep checking the peppers: in the end they should not be squishy at all, they should have a satisfying crunch when pressed and crumble easily into flakes.
The dried peppers can then be put into a jar of your choice and crumbled into flakes for easier use. It seemed like the drying process removed about 90% of the weight: approx. 200g of fresh pepper turned into some ~20-25g of flakes3. I put these temporarily in mini-grip plastic bags, so no picture of final flakes for now. I'll buy some tiny mango puree jars later to eat, clean, and reuse as flake containers, might update this post with a new picture & prettier presentation4.

Lemon Drop Sauce
- 400g of fresh Lemon Drop peppers
- 200g / 200ml of vinegar with 10% acid content, or equivalent
- 200g / 200ml of water, approximate
- 1tsp / 5ml of salt
- 1-2 hours of time
- yields about 500-600ml of sauce
(As above in the other sauce recipe, remember good hygiene. Wash and sanitize everything.)
Next up, making some sauce from the Lemon Drop peppers. This is a simple sauce recipe, no fermentation required. The food safety and shelf life is ensured with vinegar: bringing the sauce's pH level down enough. The safety of the sauce should be confirmed by measuring with a calibrated pH meter, adding more vinegar if necessary. See the end of this post for more details.
This recipe provides a baseline for an amount of vinegar that should be in the right ballpark. It is based on a 50:50 ratio of fresh peppers to vinegar by weight, assuming a 5% acid content vinegar. With 400g of peppers and having a bottle of 10% vinegar, quick napkin math resulted in using 200ml of it. If you are using vinegar with a different concentration, you might need to adjust the amount of water added when blending, to get a good consistency.
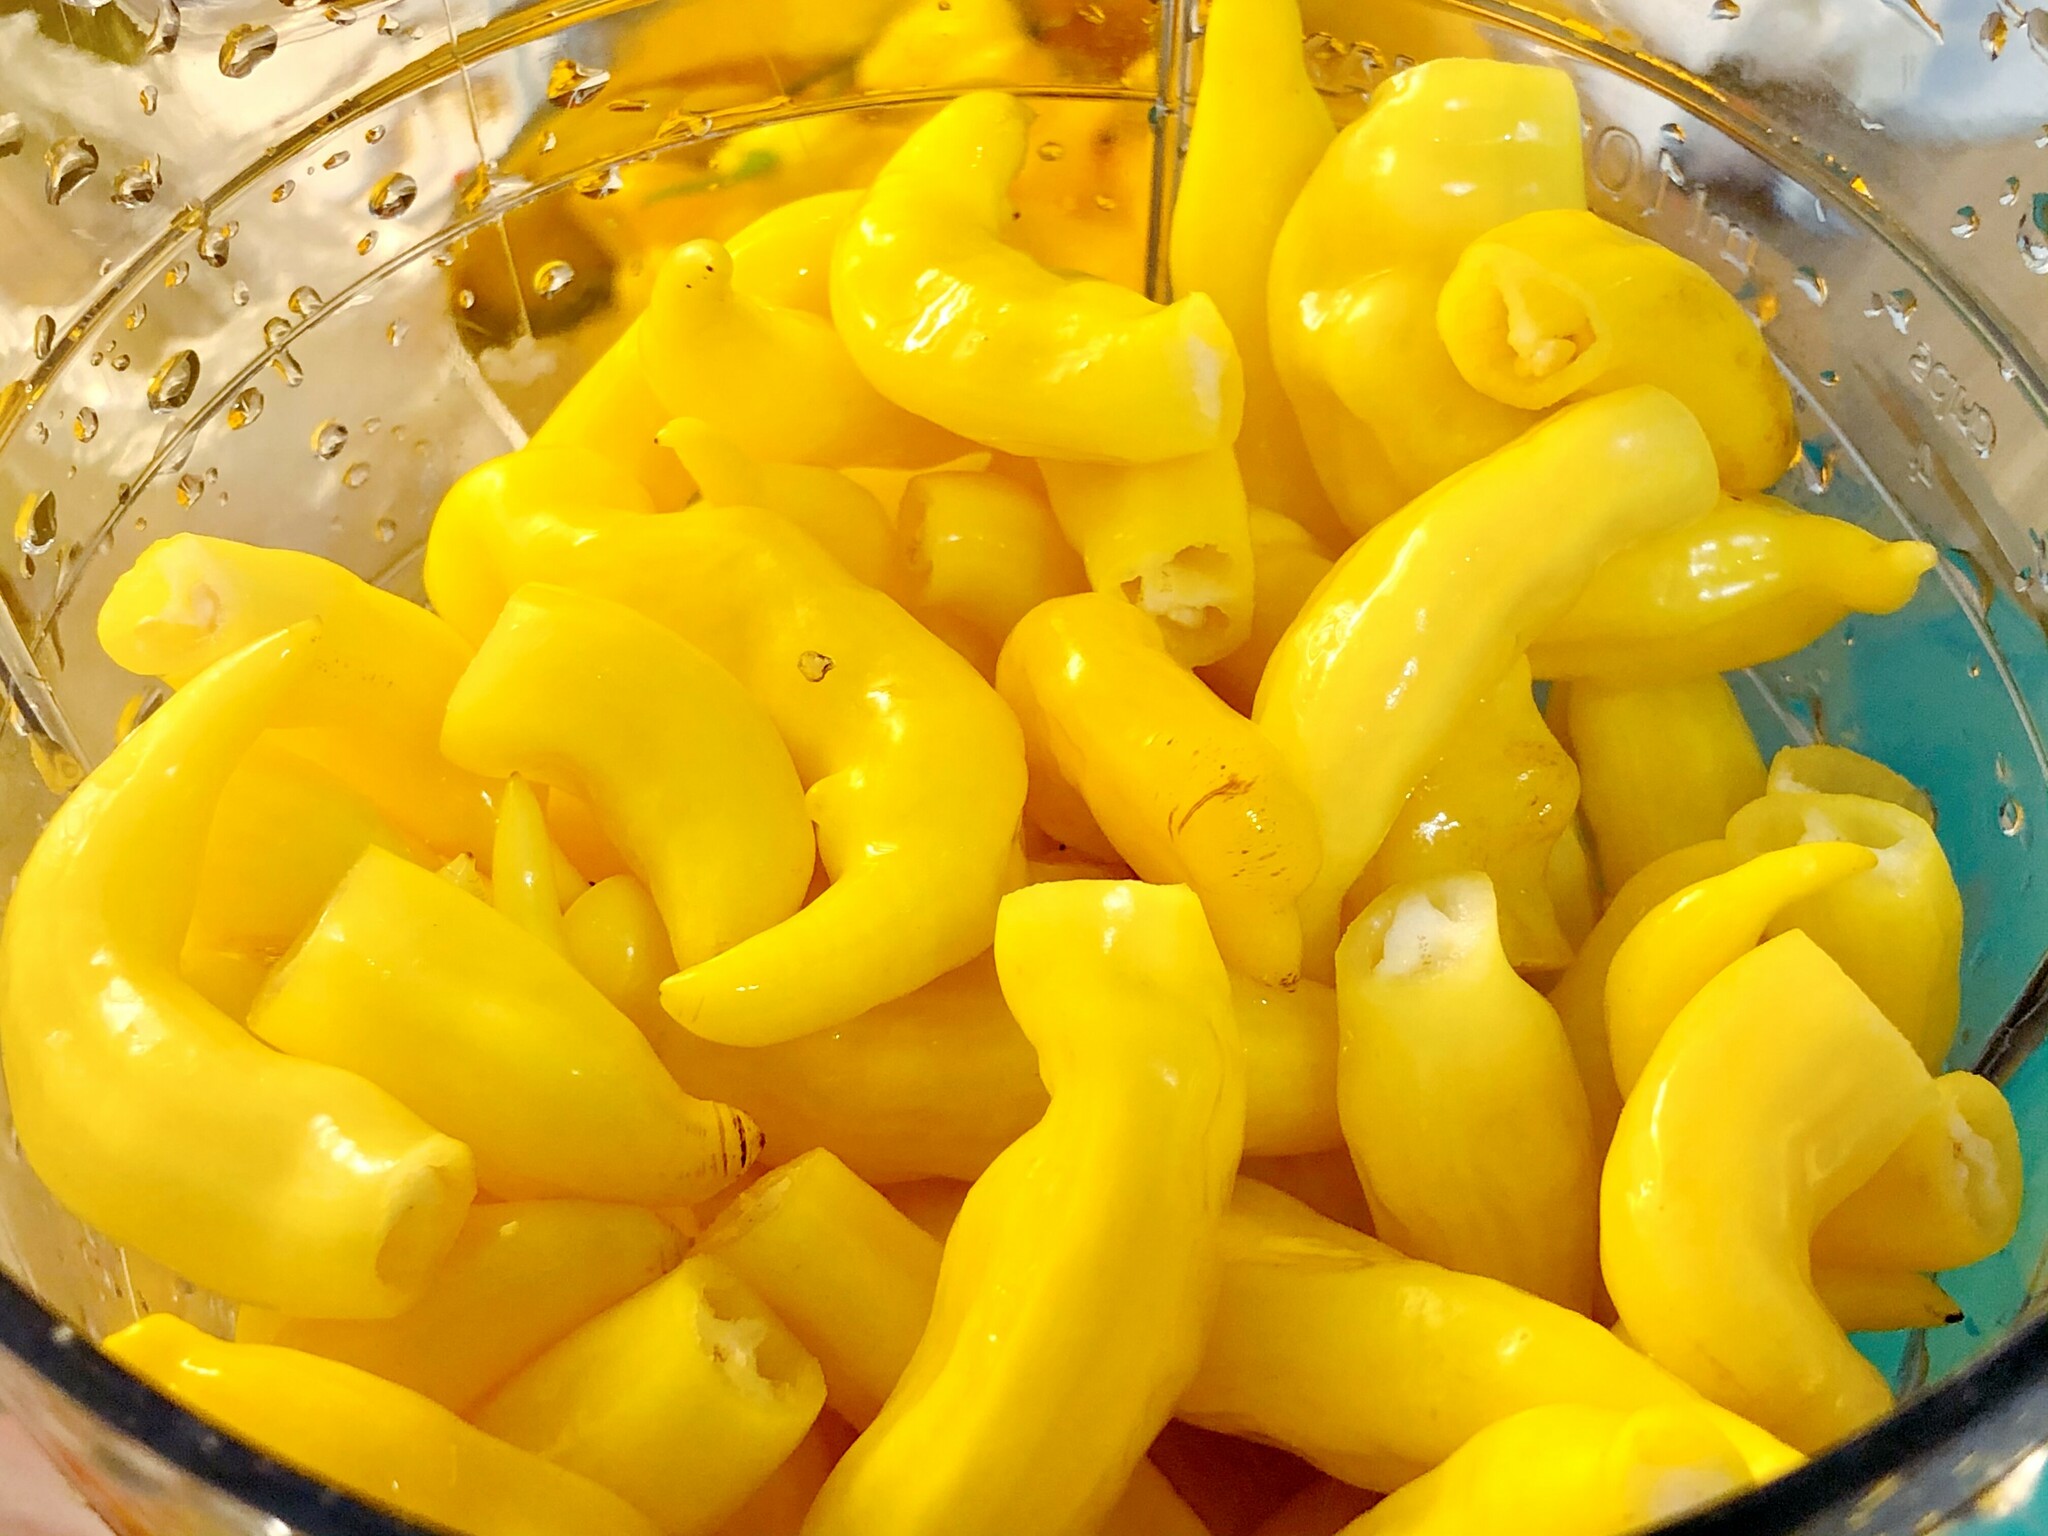
Wash the peppers, throw out any rotten ones. Again, better safe than sorry - nicer to throw an extra pepper than the entire batch of sauce.
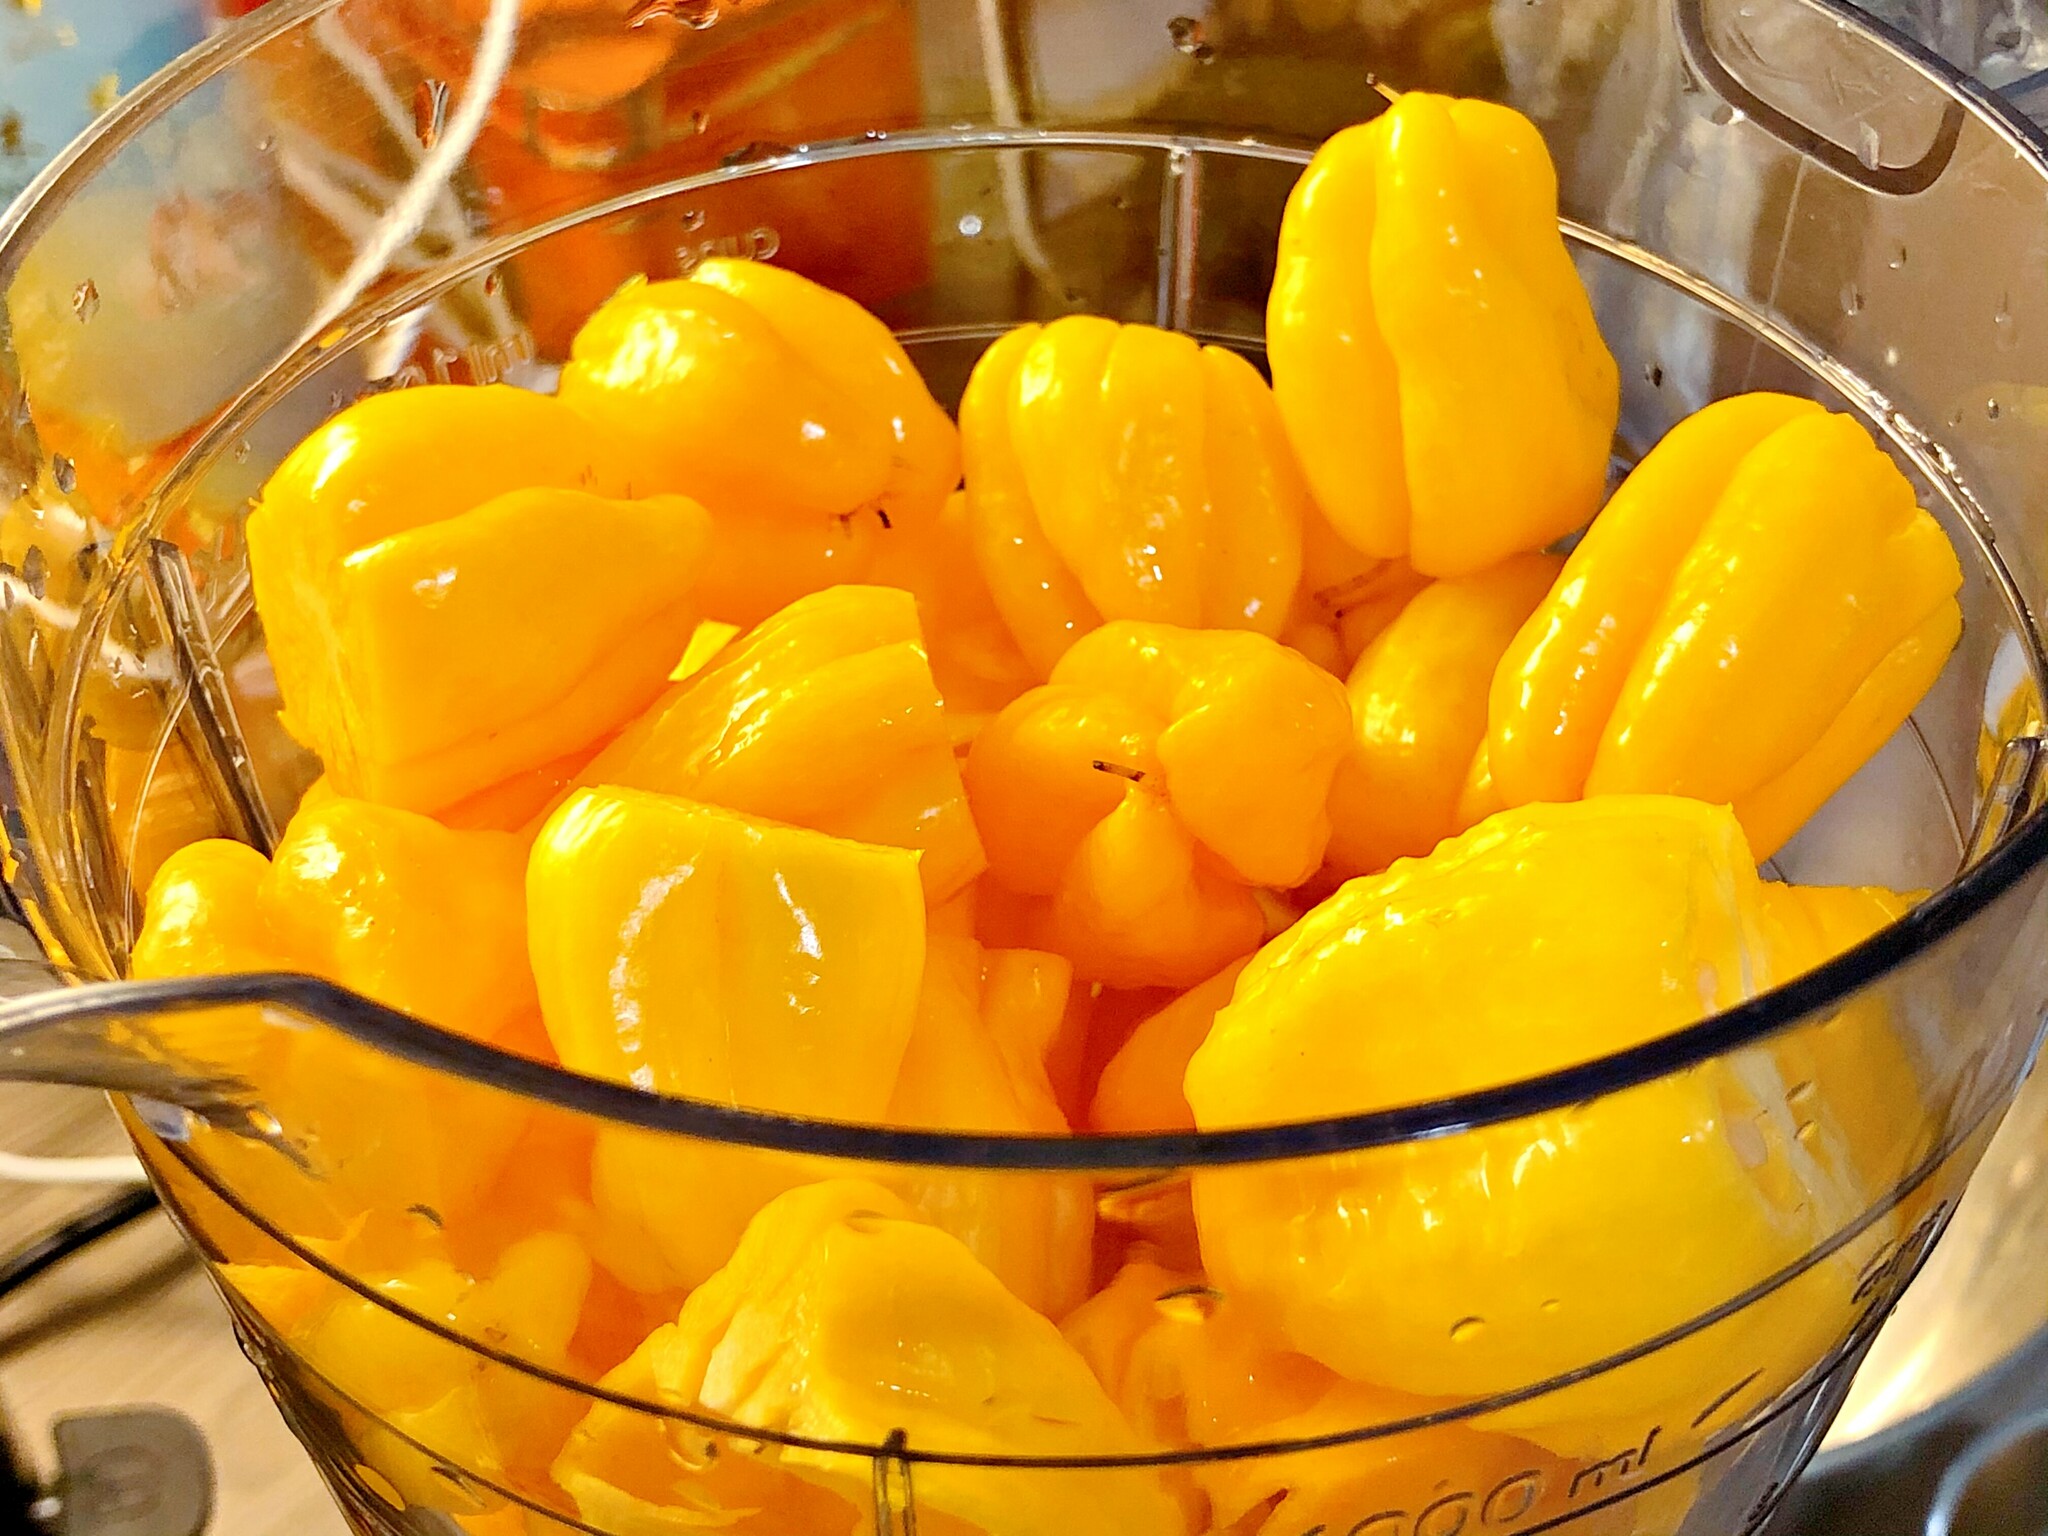
Cut the stems off and put the peppers in a blender.
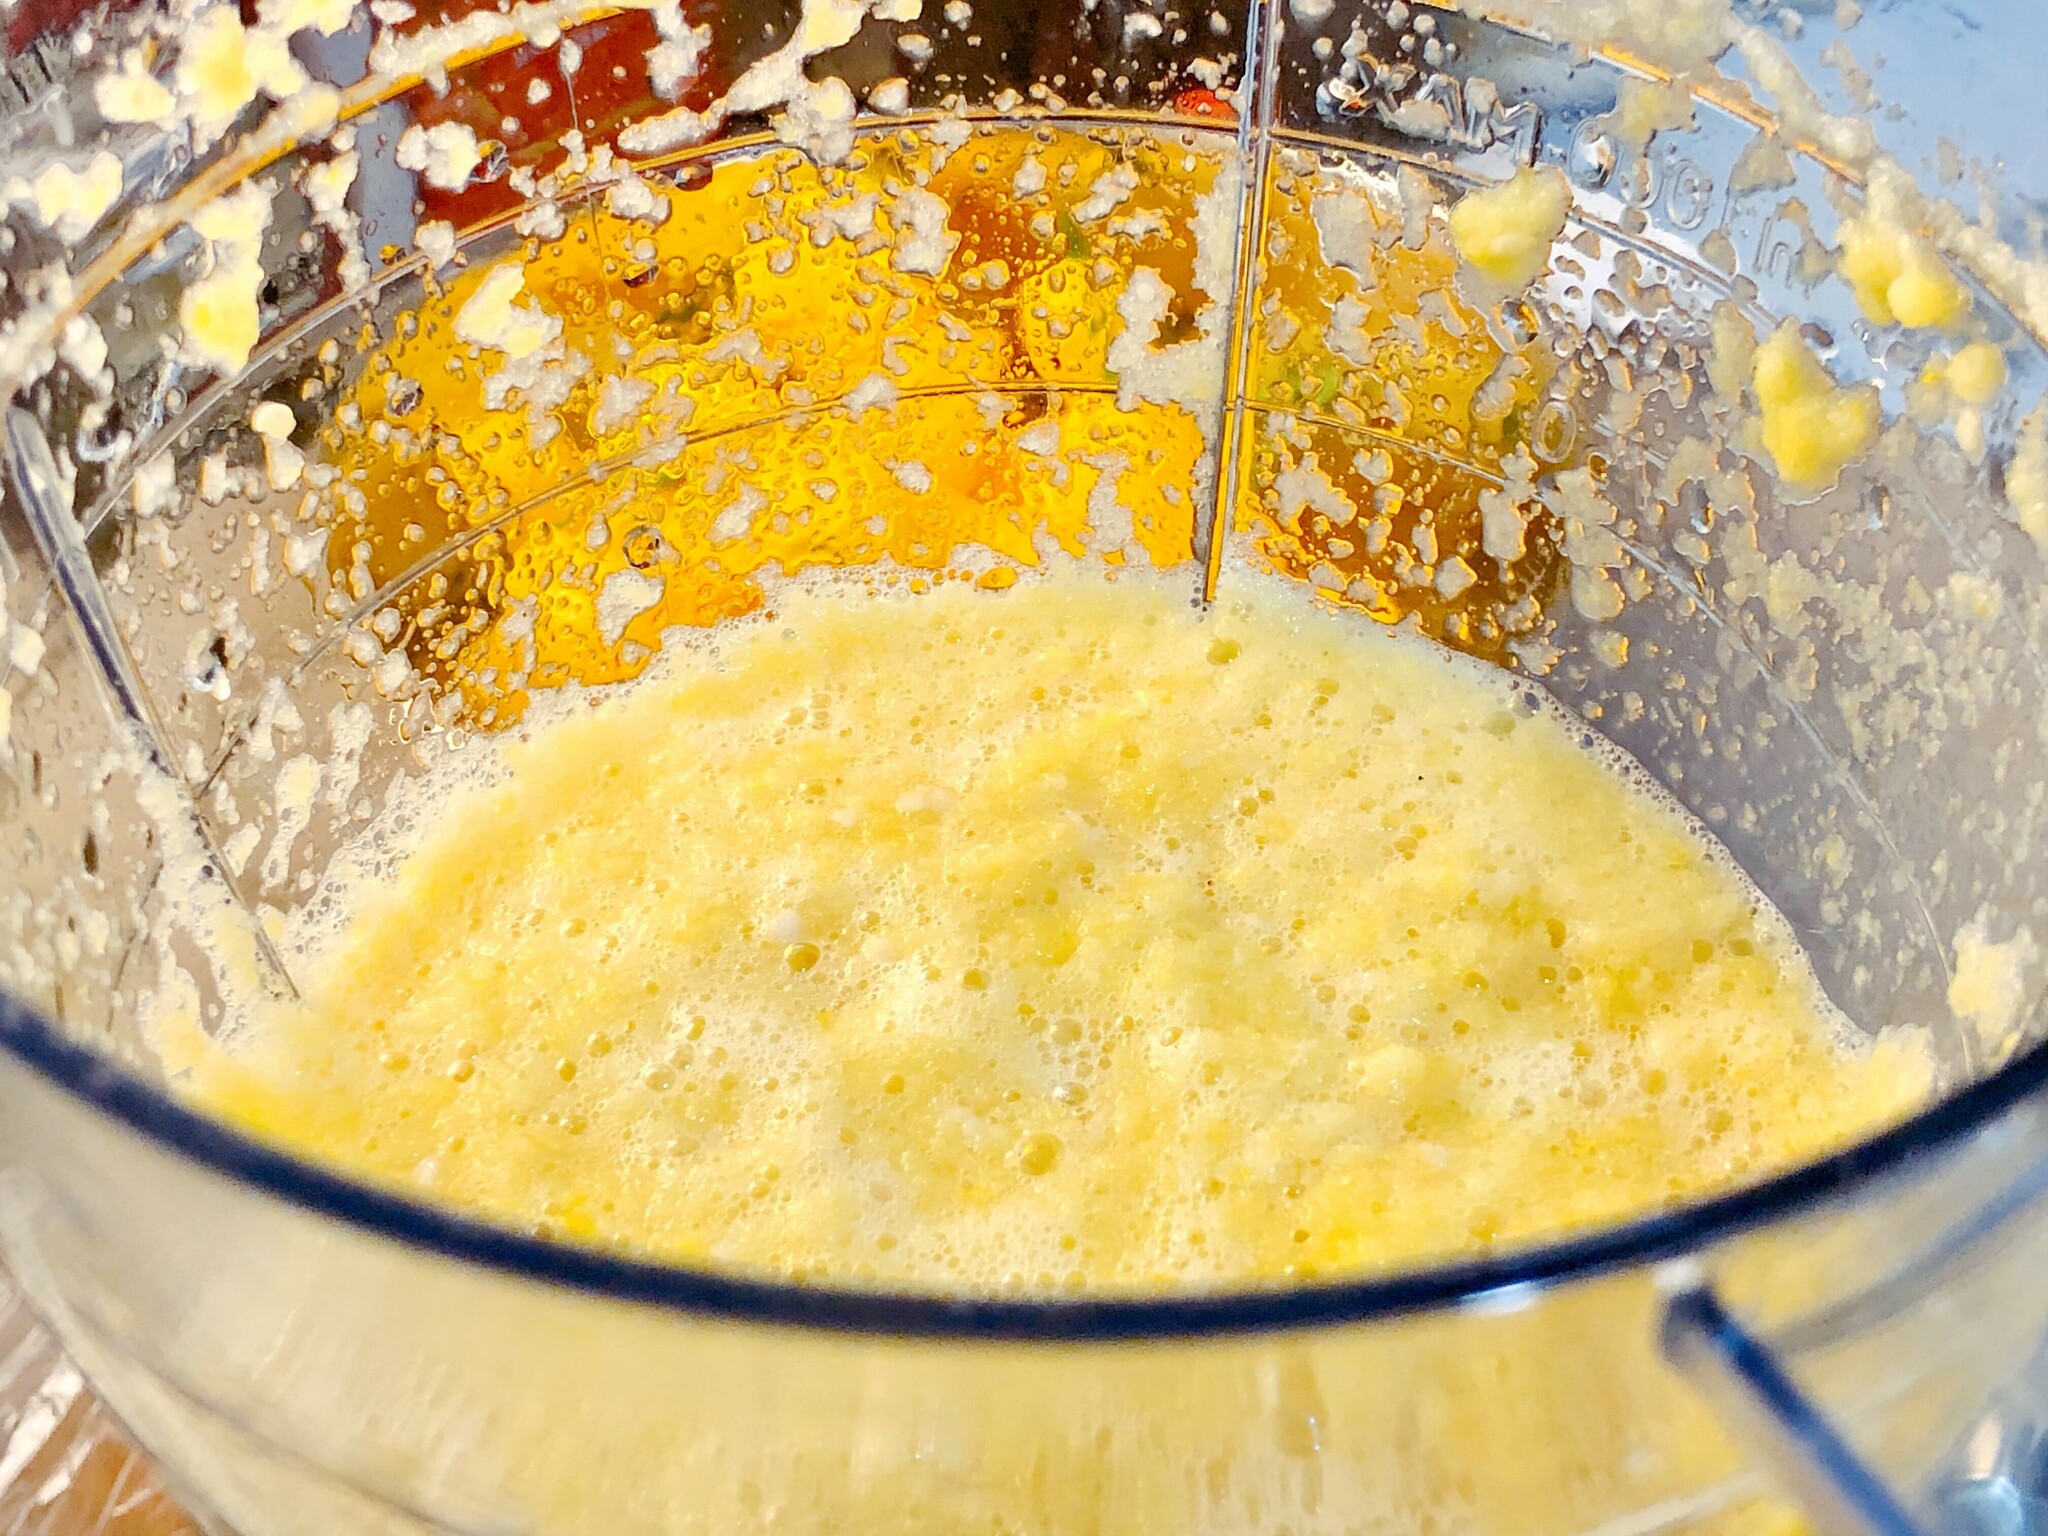
Add the vinegar and blend. Add salt and some water and blend some more. Do not necssarily add all of the water, look for a nice consistency - especially if using a vinegar with a different concentration. However, at this point the sauce may be ever so slightly thin, it will reduce a bit in the next step.
Ideally, this is when you should measure the pH of your sauce, and add more vinegar if necessary. Aim for 4.0 or lower pH, 3.5 for extra safety. I forgot my pH meter elsewhere and measured my sauces the next day - risking potentially having sauces with limited shelf life. With these peppers and amounts of ingredients, I ended up lucky and these were perfectly safe with a good margin. Again, check the end of the post.
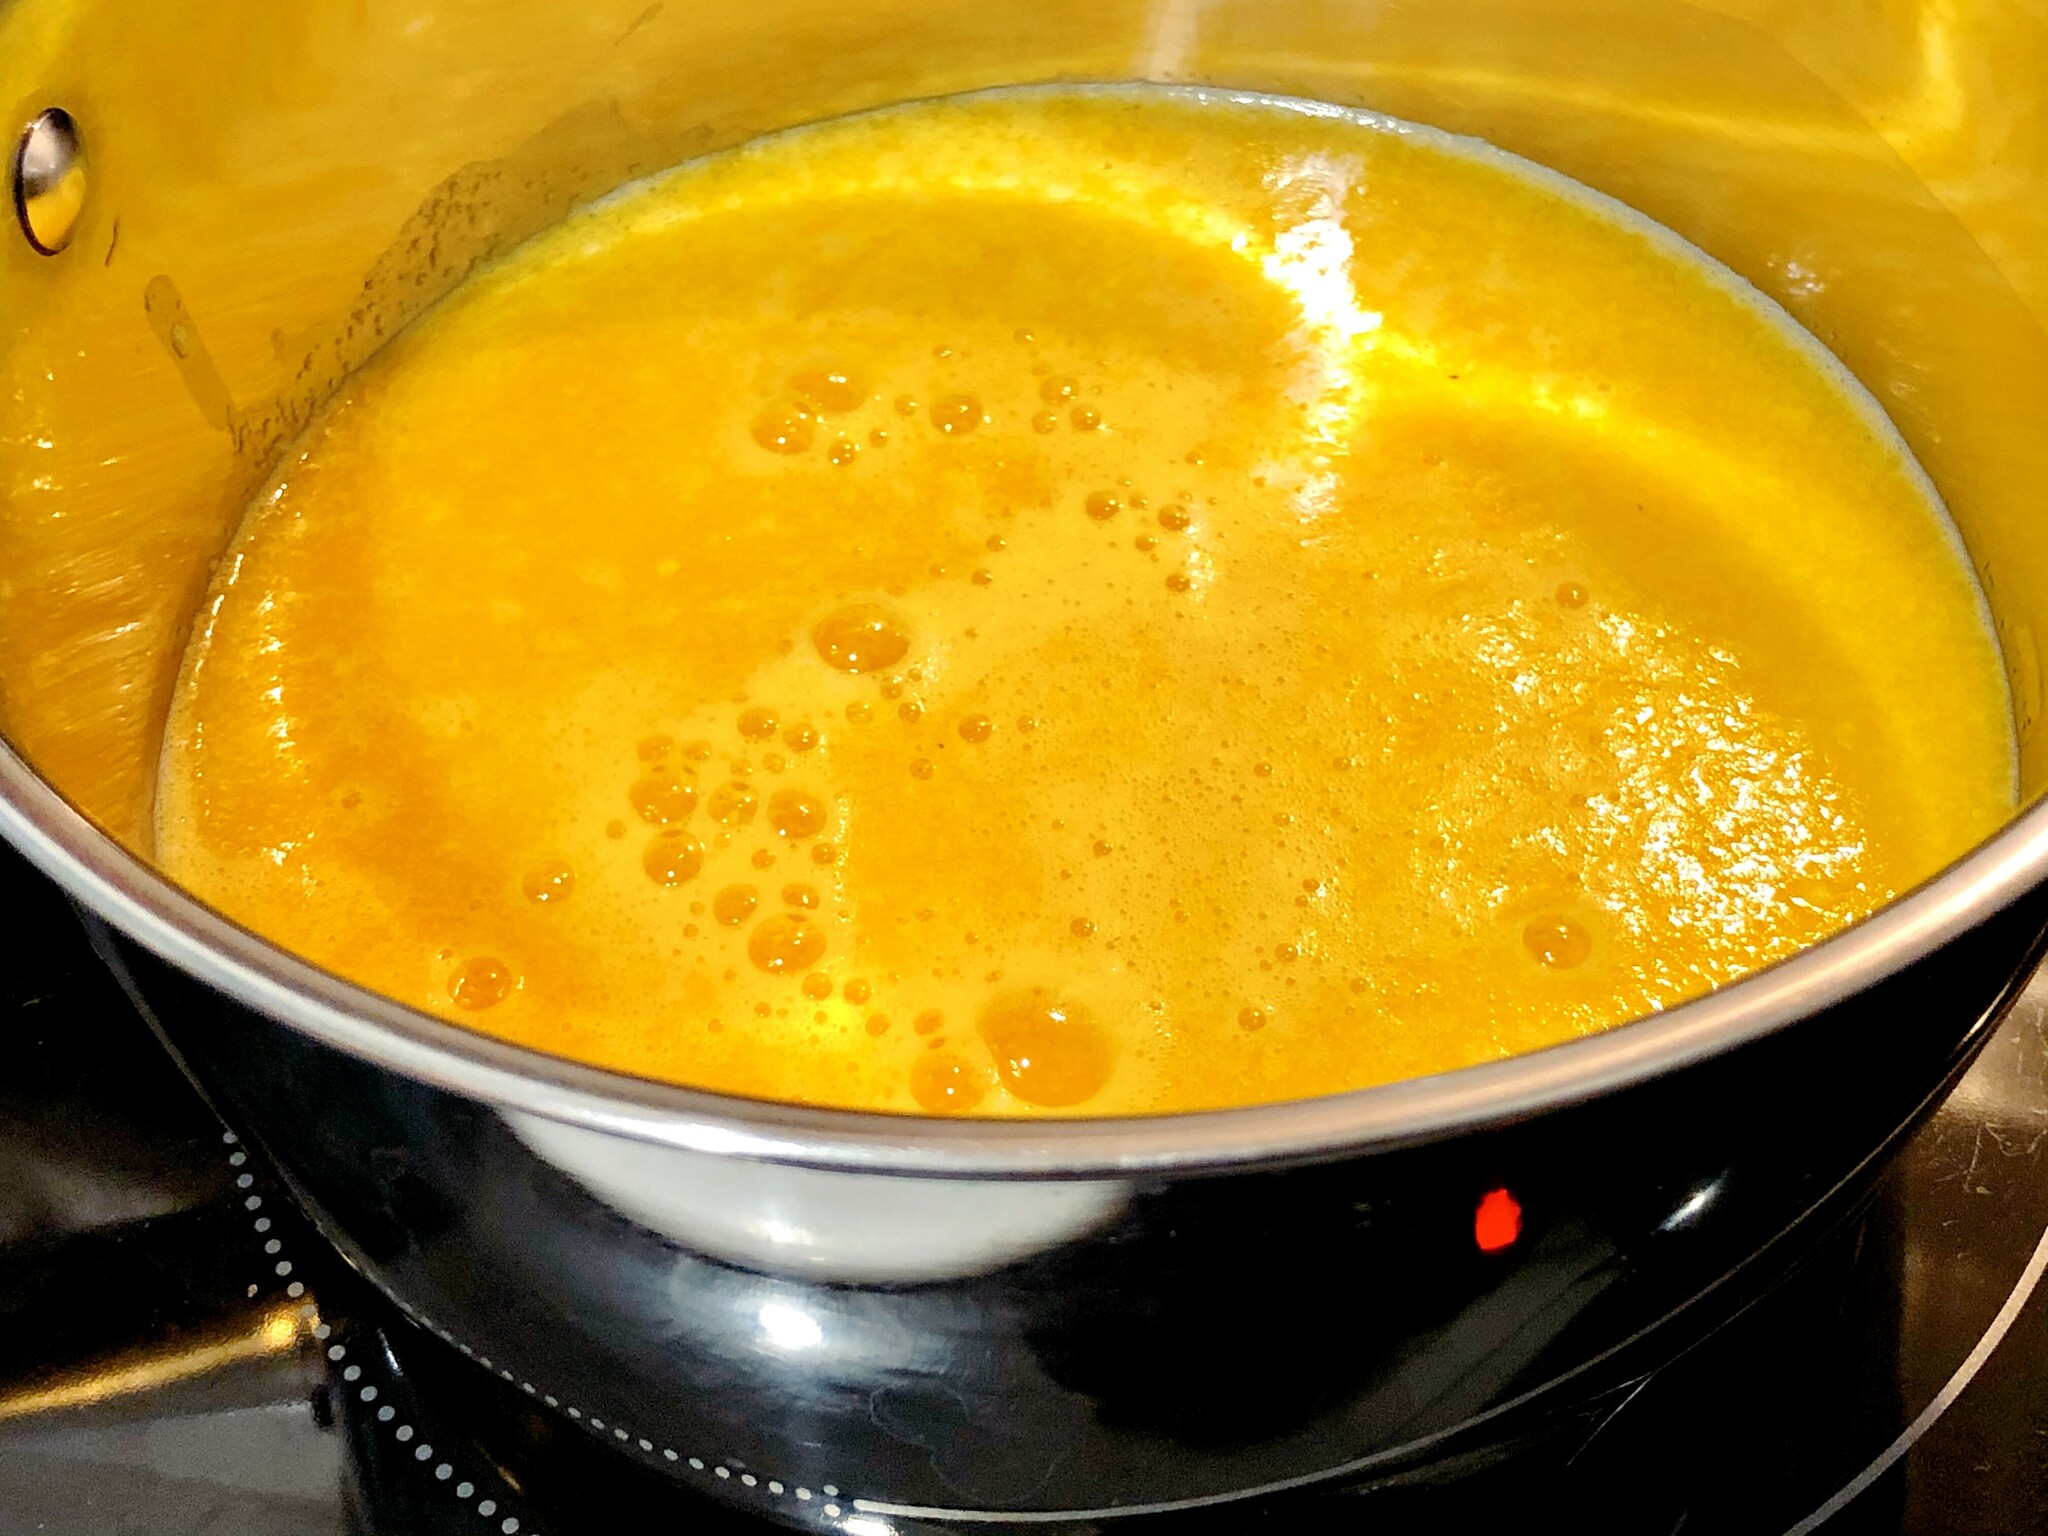
Next up, boil the sauce in a kettle for at least 10 minutes of continuously bubbling boil. This should kill most of the nasty stuff that might be in there - bacteria etc.

While at it, also boil or otherwise sanitize your bottles and caps, too.
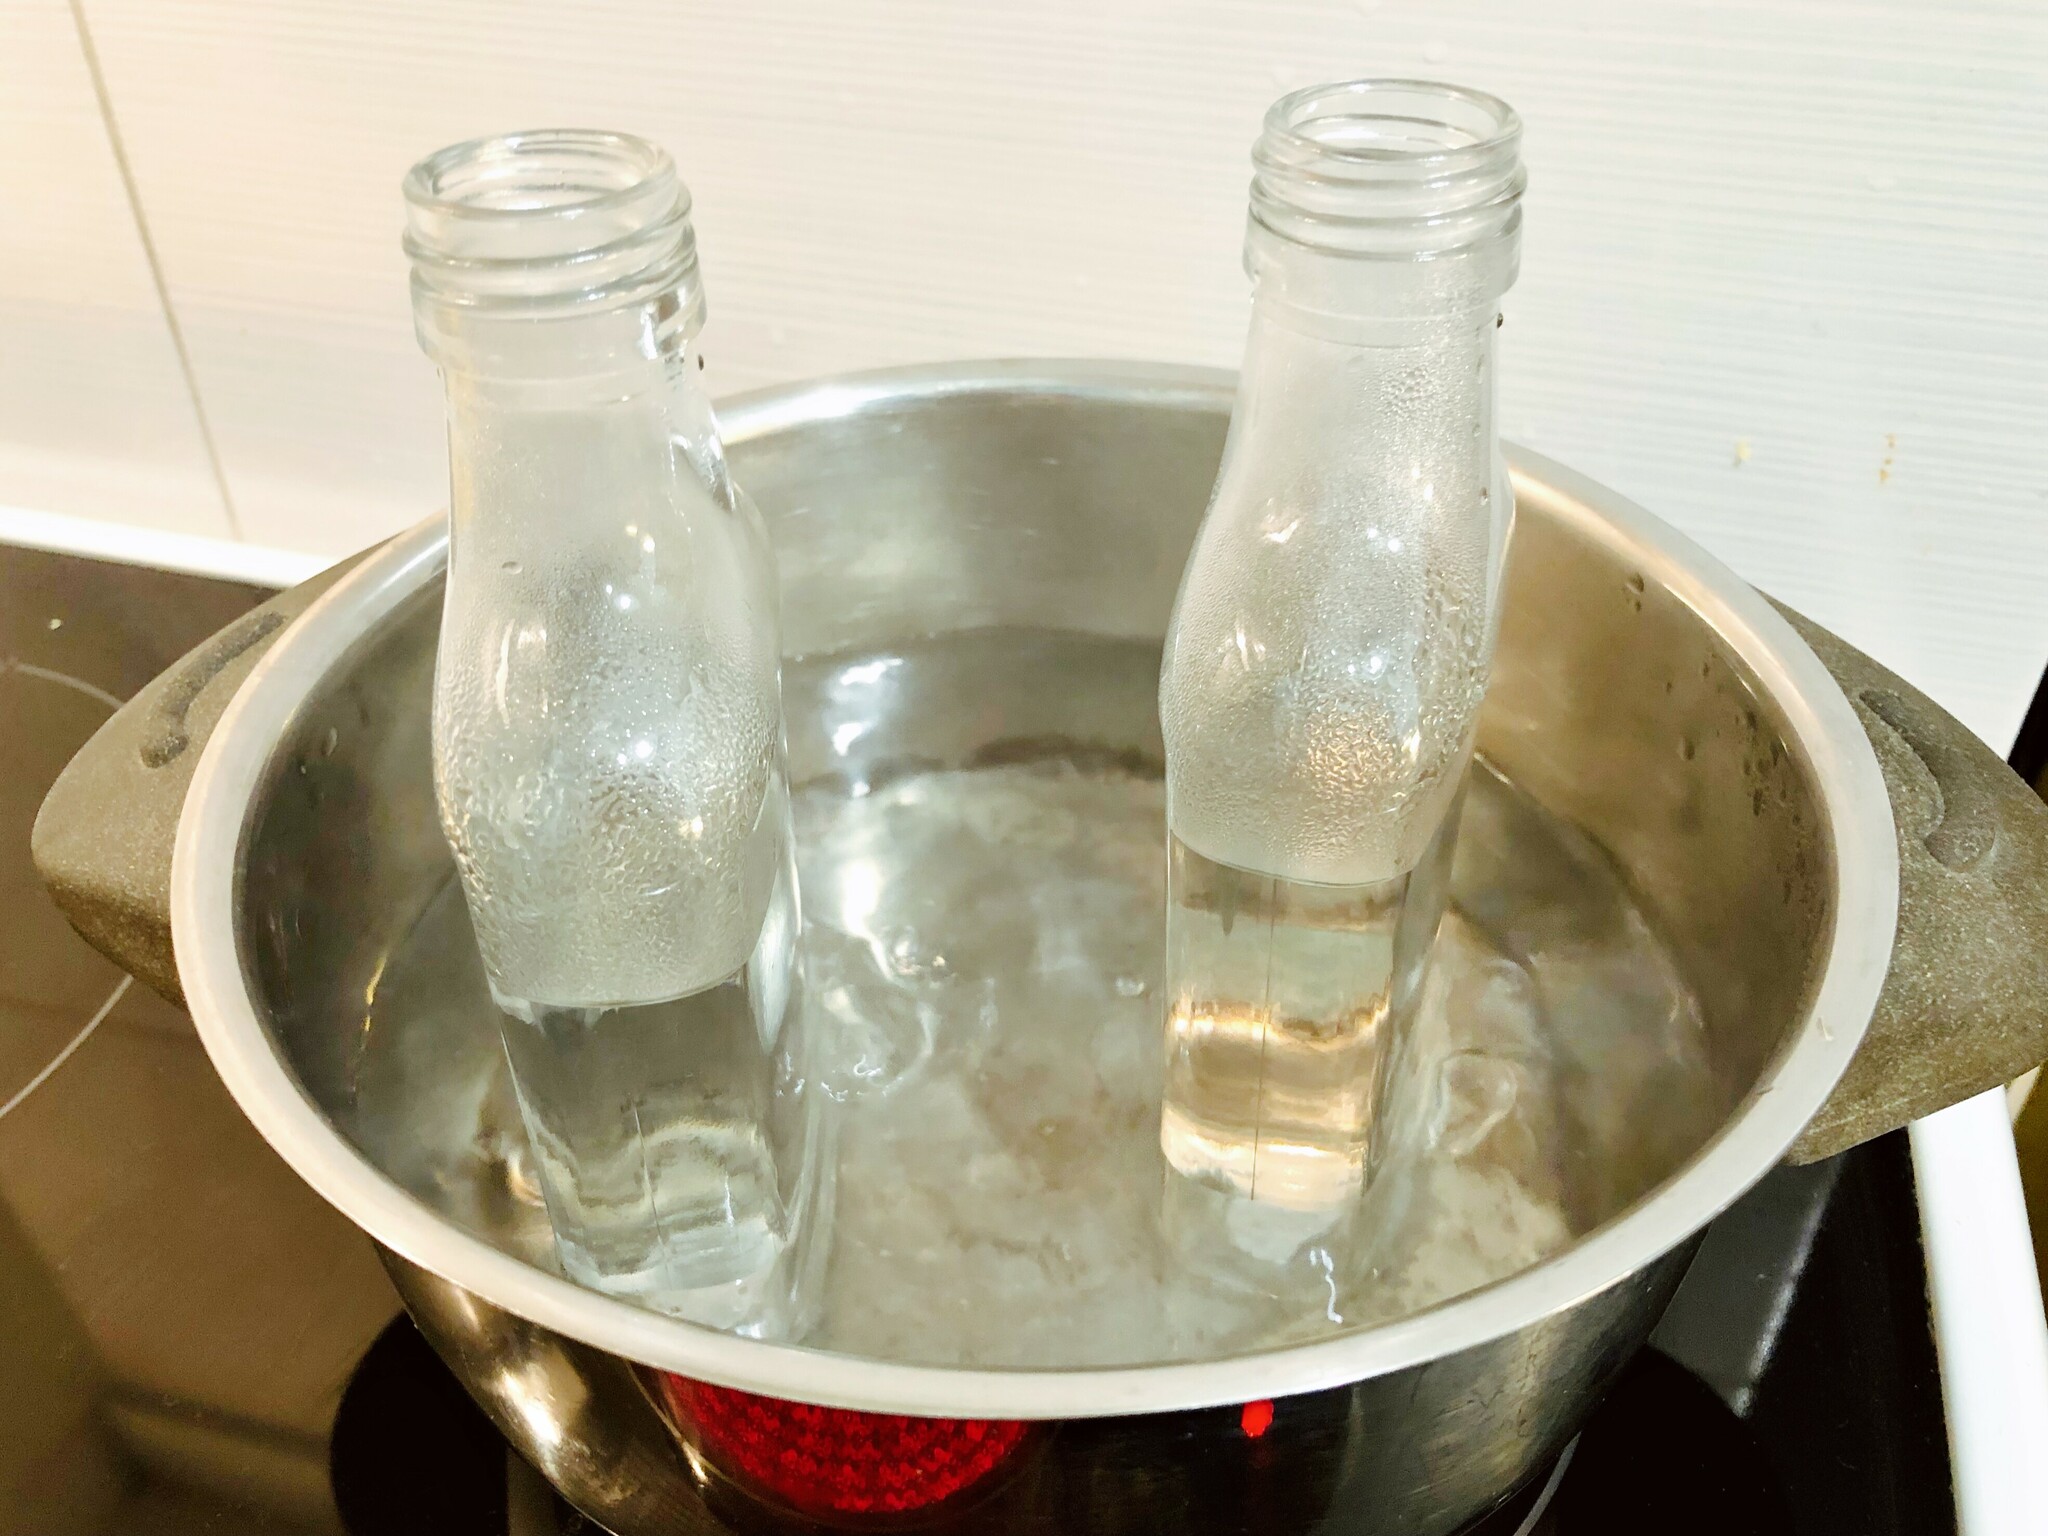
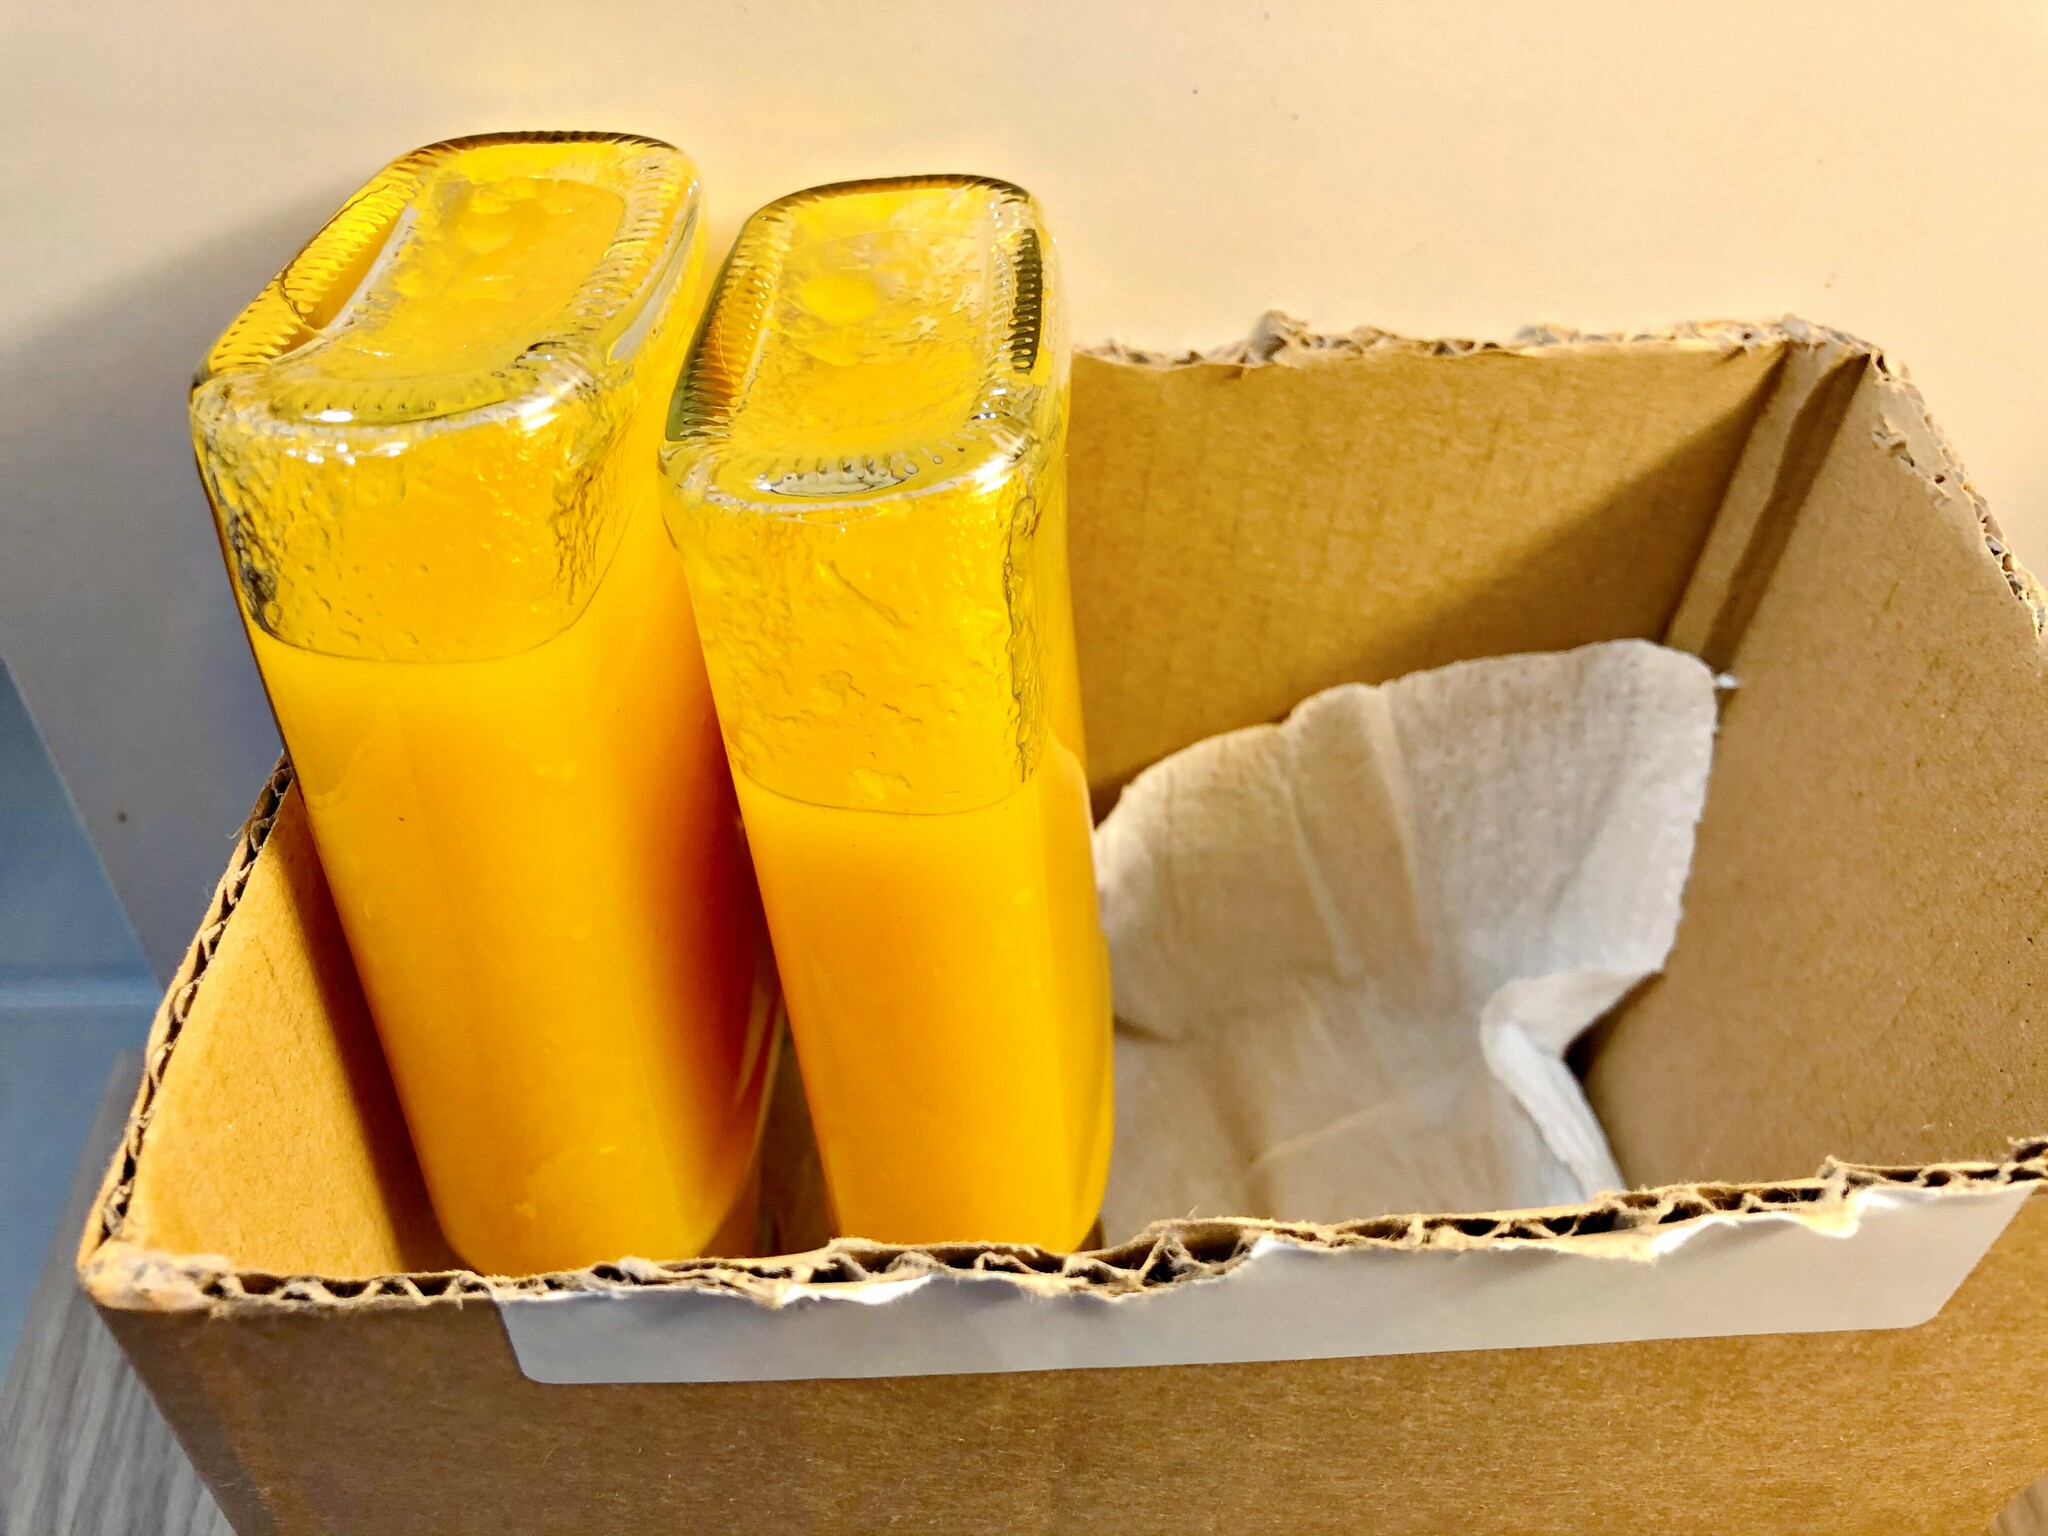
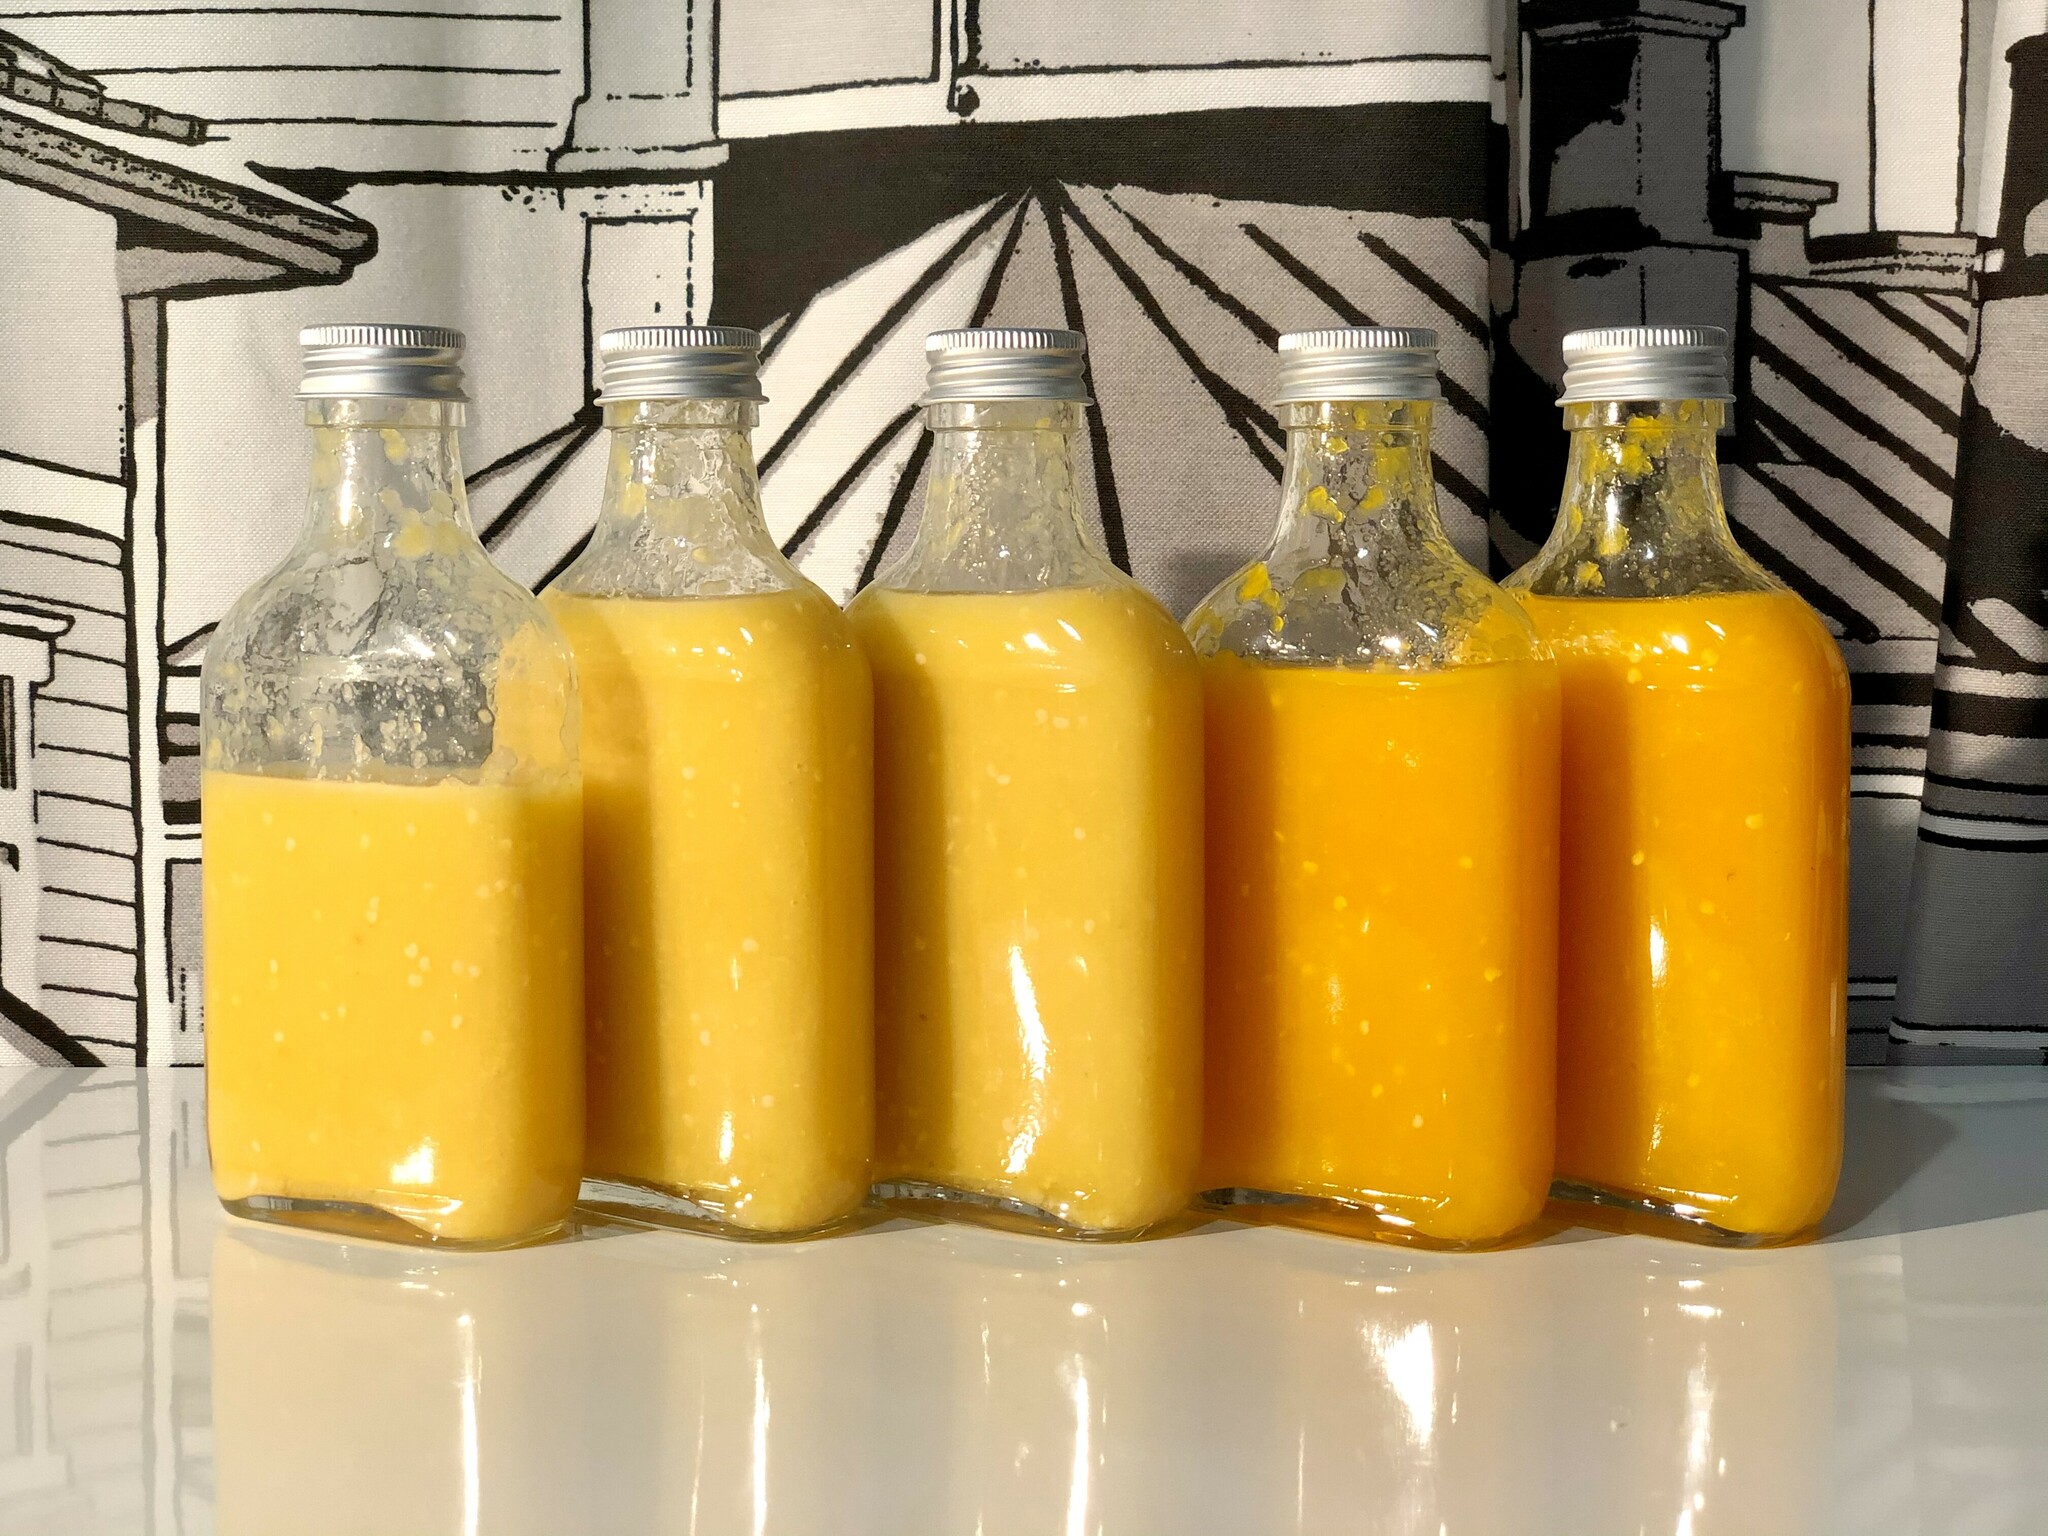
When the sauce and bottles have been boiling for long enough, bottle it all up using a sanitized funnel while both the sauce and the bottles are still hot. Put the cap on and immediately reverse the bottles and leave them upside down. The hot liquids should make sure the cap also stays sterile, and the bottle being upside down should confirm it is an air- and watertights seal.
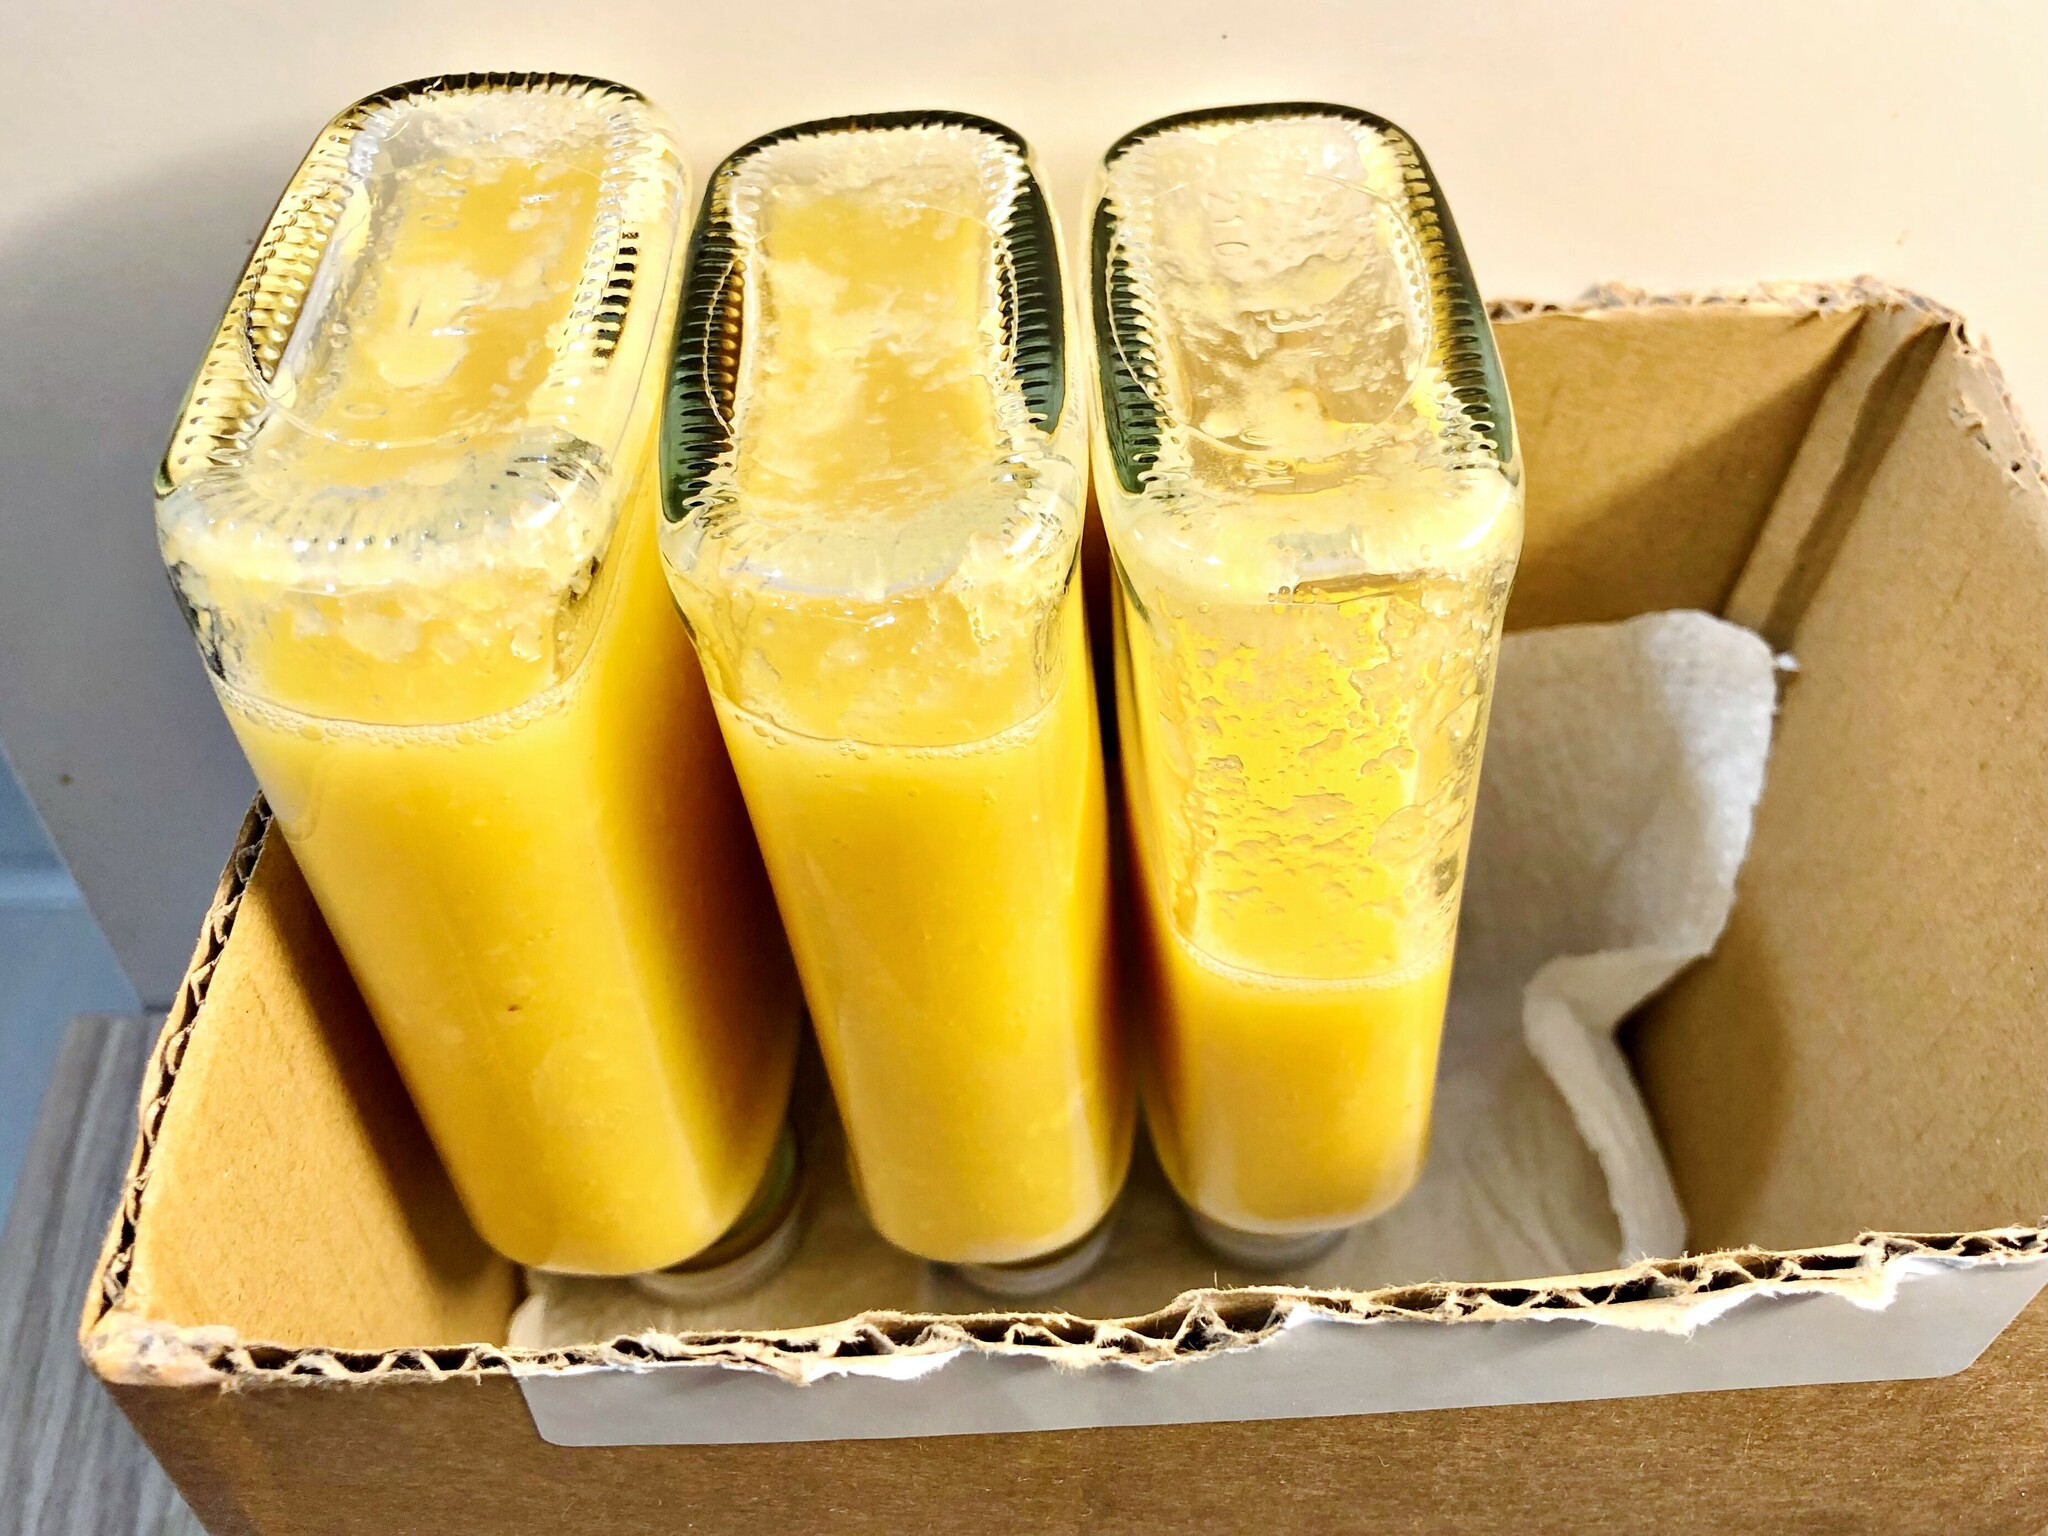
The sauces should now be shelf-stable unopened for some months or so, store opened bottles in the fridge and consume within some weeks or so5. These are 200ml bottles, so the yield was about 500-600ml.
Scotch Bonnet Sauce
- 300g of fresh Scotch Bonnet peppers
- 150g / 150ml of vinegar with 10% acid content, or equivalent
- 150g / 150ml of water, approximate
- a bit under 1tsp / 5ml of salt
- 1-2 hours of time
- yields about 400ml of sauce
This recipe is pretty much an exact copy of the above recipe - different amounts but same ratios for the core ingredients. The only exception is I ended up using a tiny bit less water - eyeballing for consistency when blending. Remember that peppers are organic, natural products and may have differing water contents etc, adjust accordingly.

200ml bottles again, so a tad under 400ml of sauce or thereabouts.
Verifying pH Levels
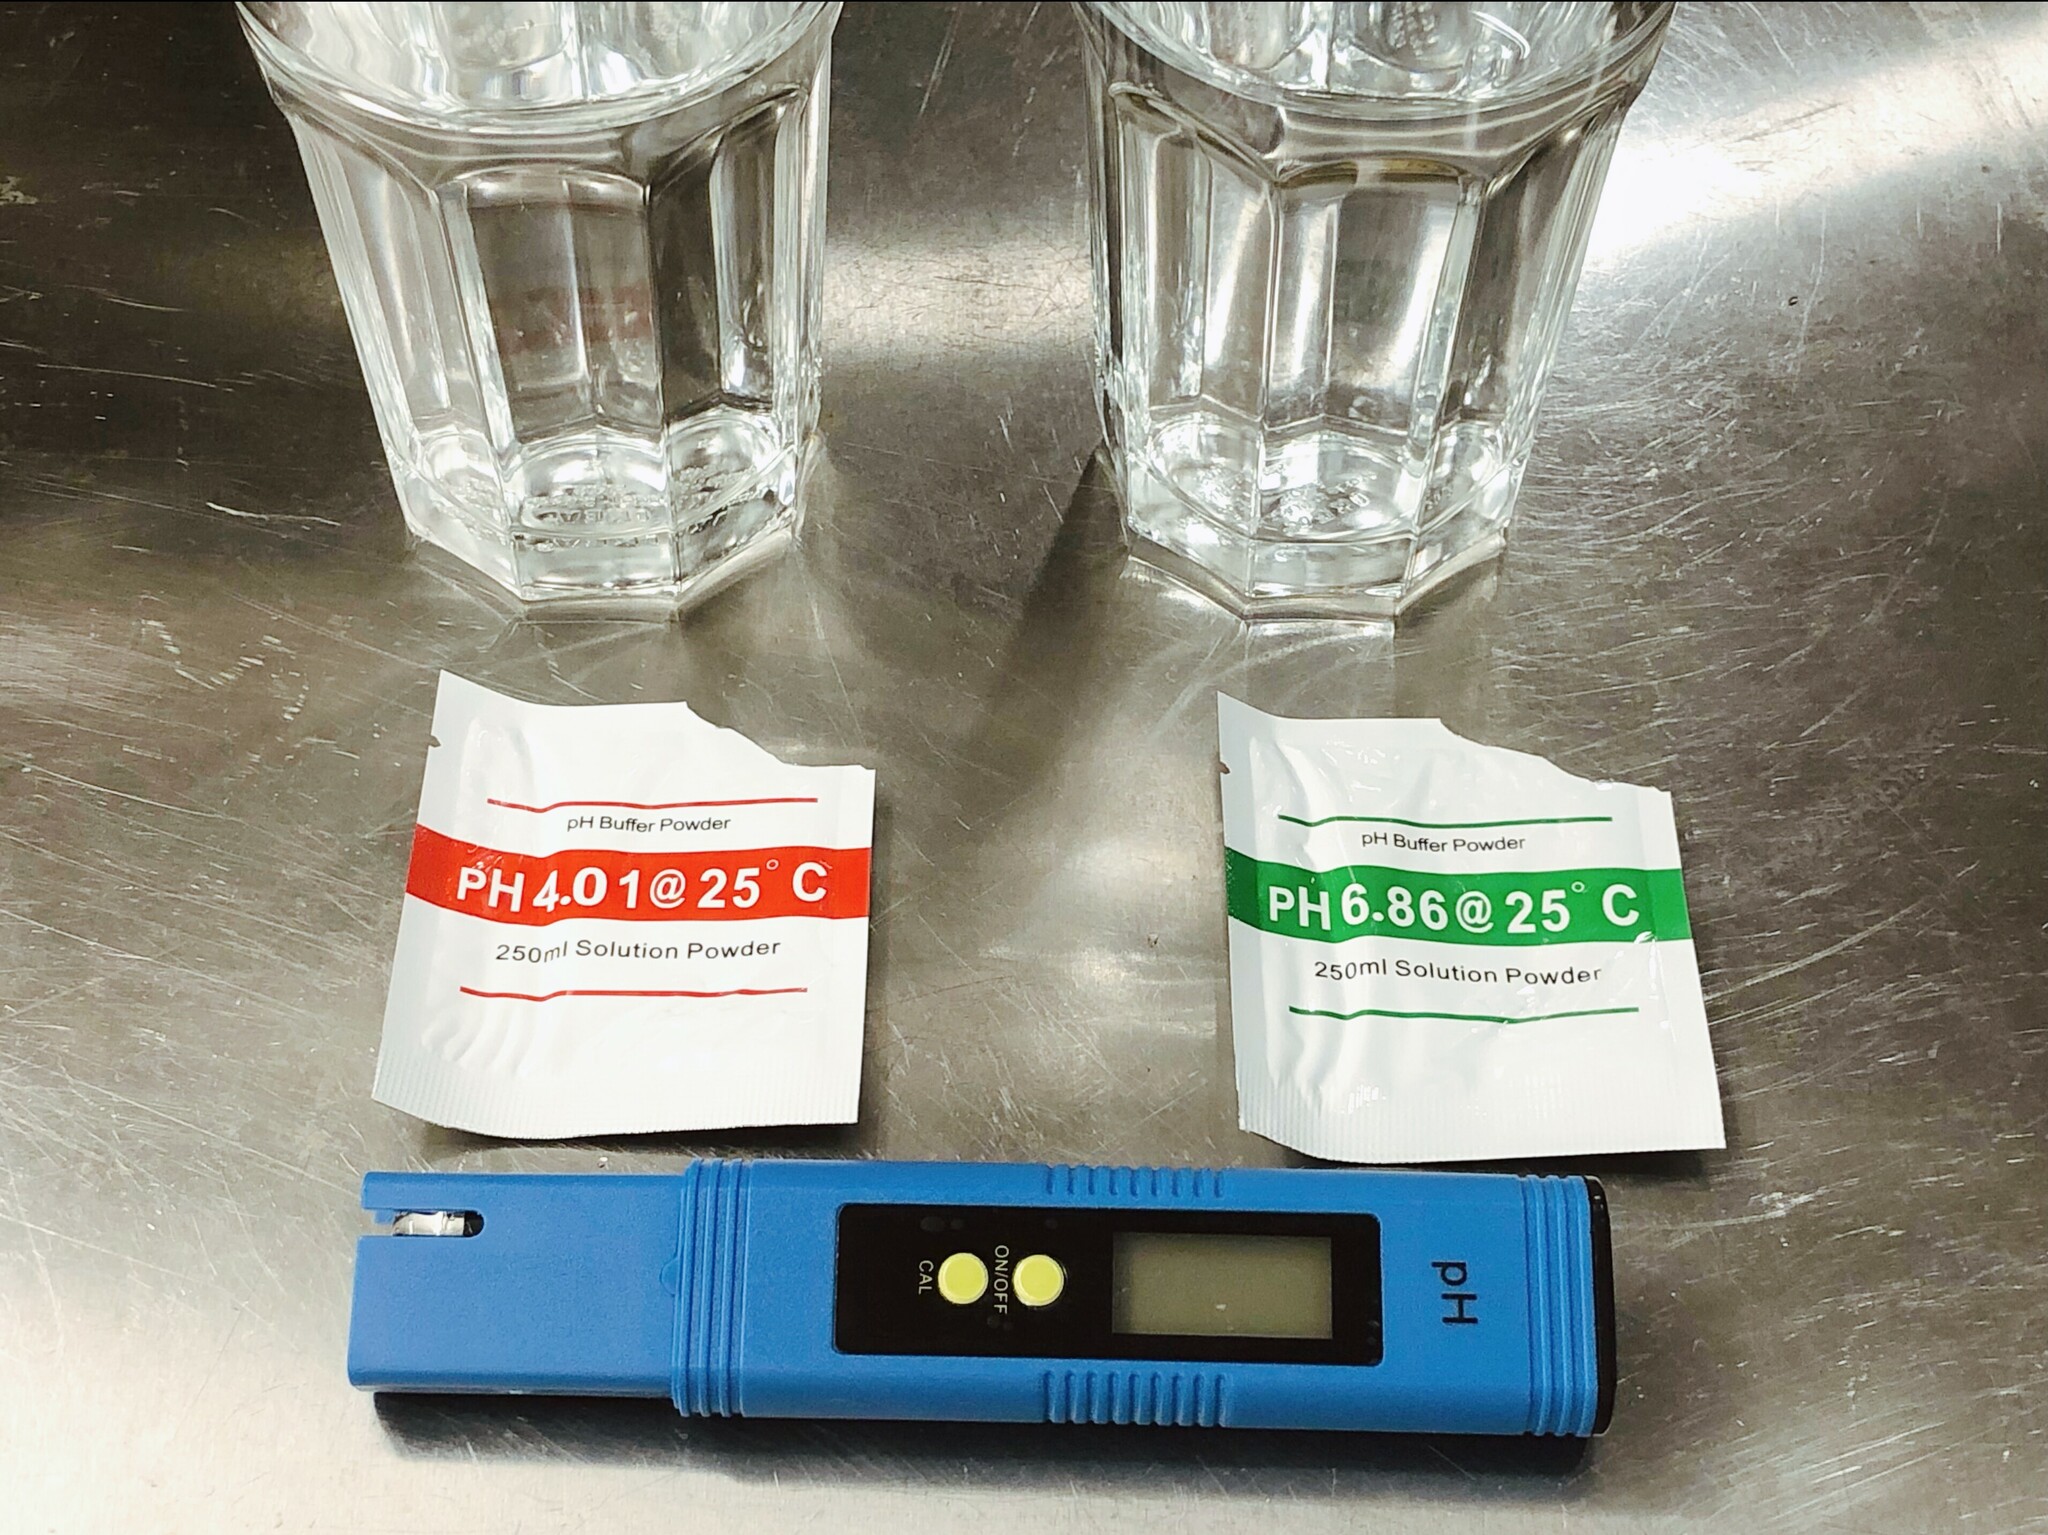
You should always verify your hot sauce pH levels to make sure they are safe for longer storage. Basic pH meters can be had for about 15eur online, I picked a random one from amazon.de that came with some bags of calibration powder.
Prepare the calibration liquids according to the instructions and calibrate your meter. Rinse it off.
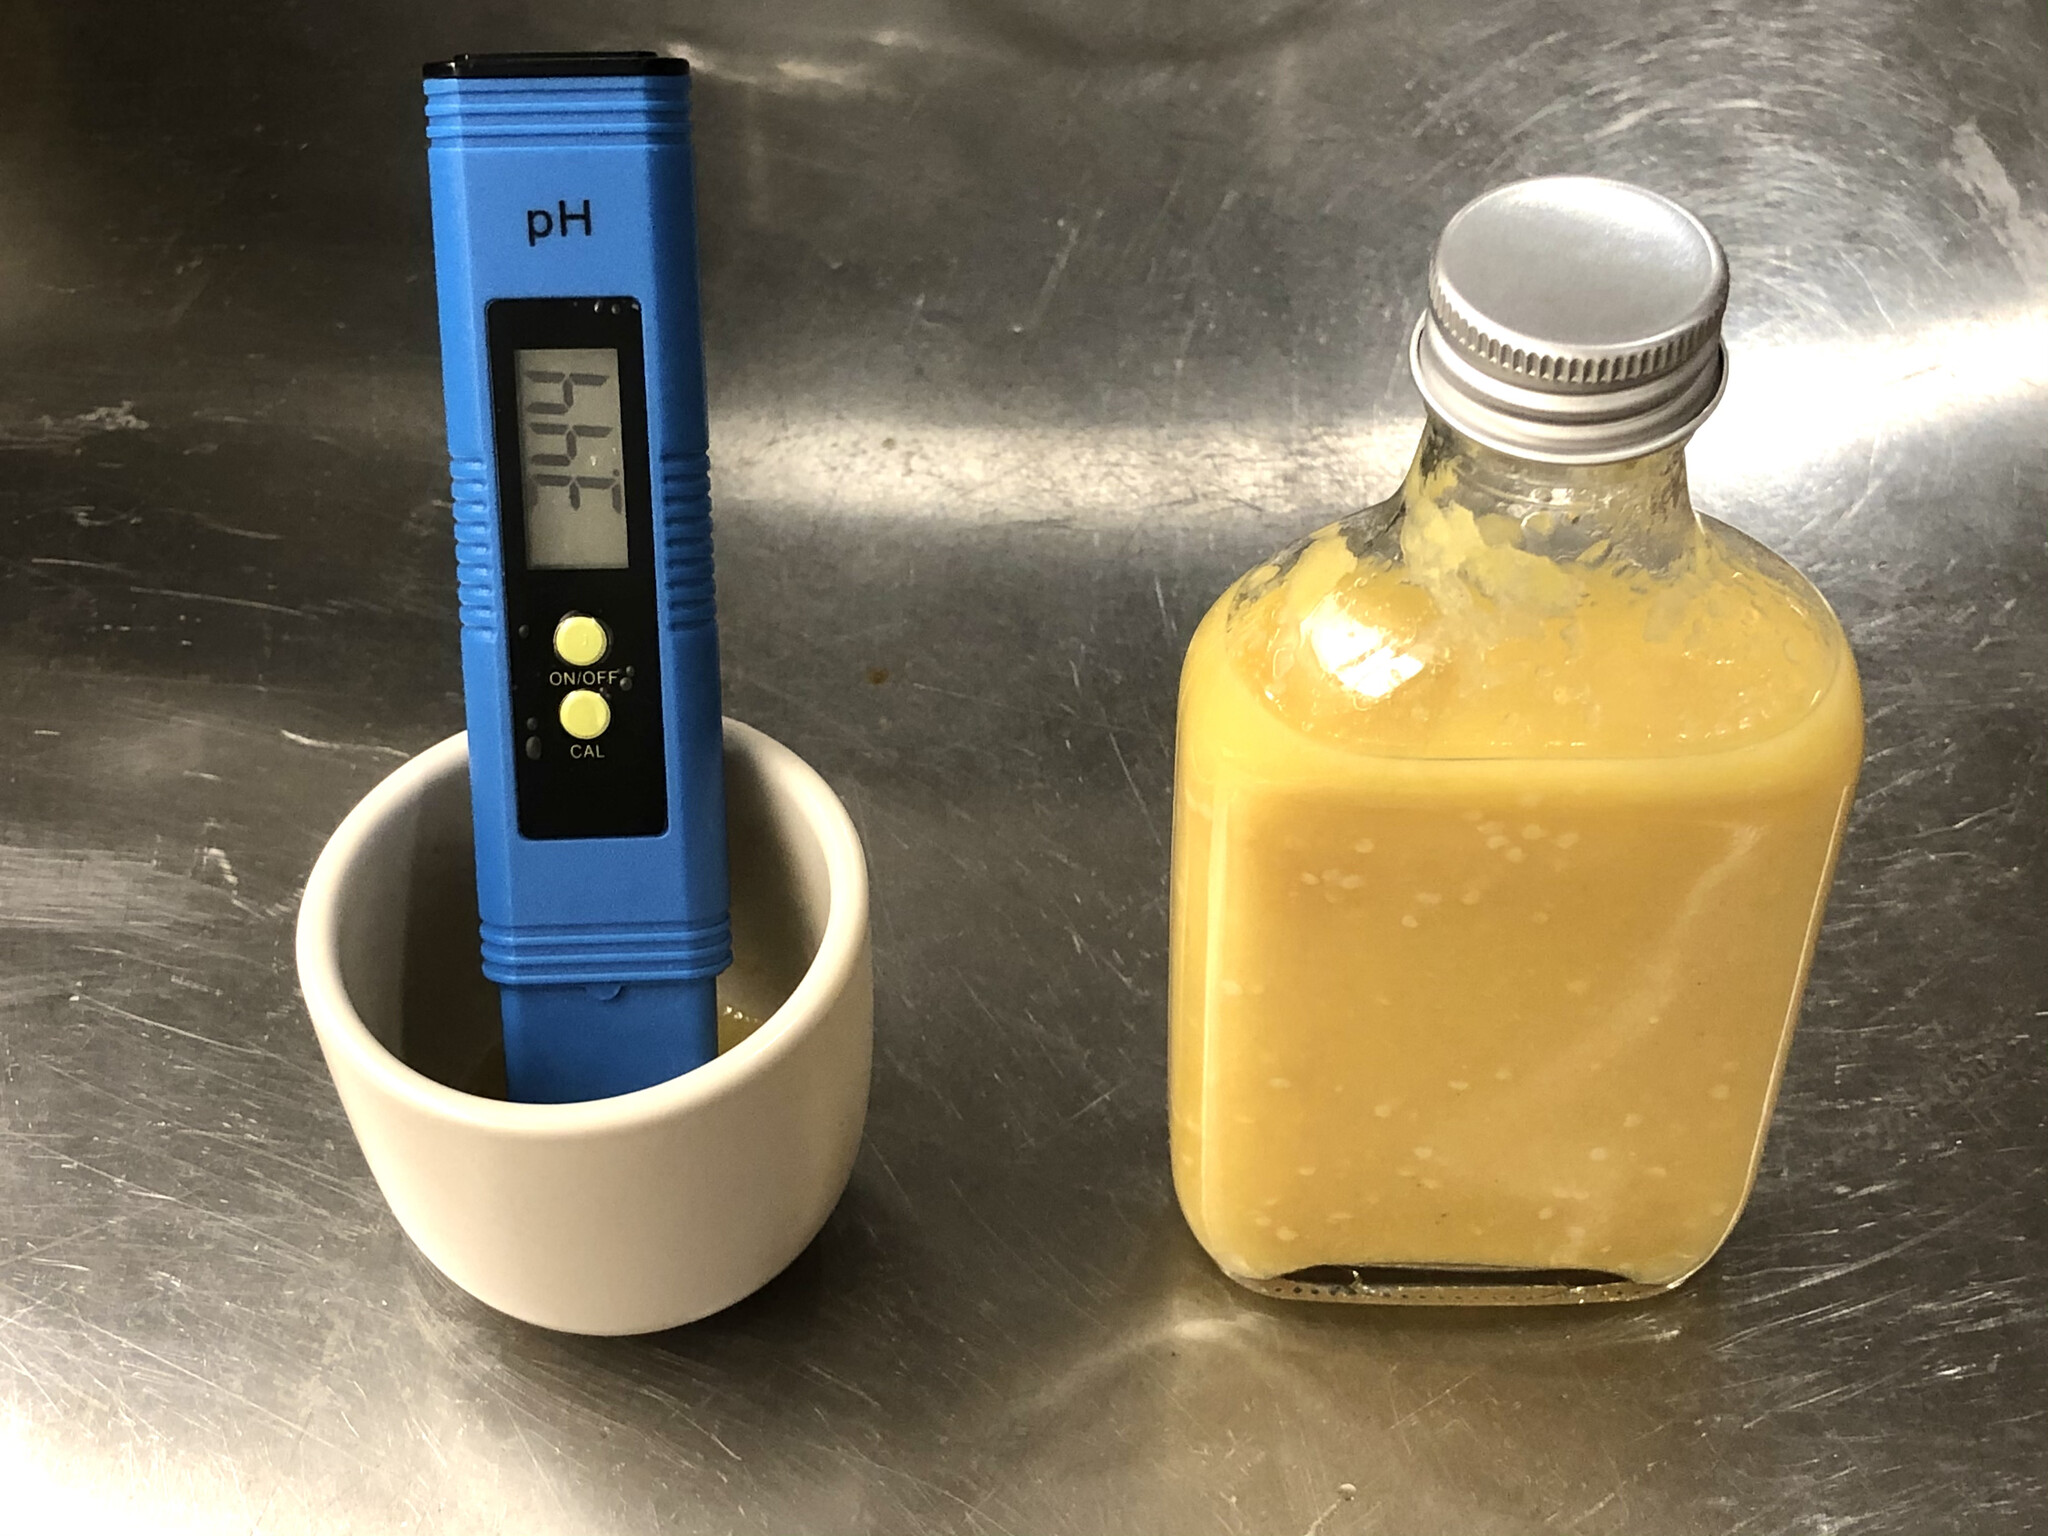
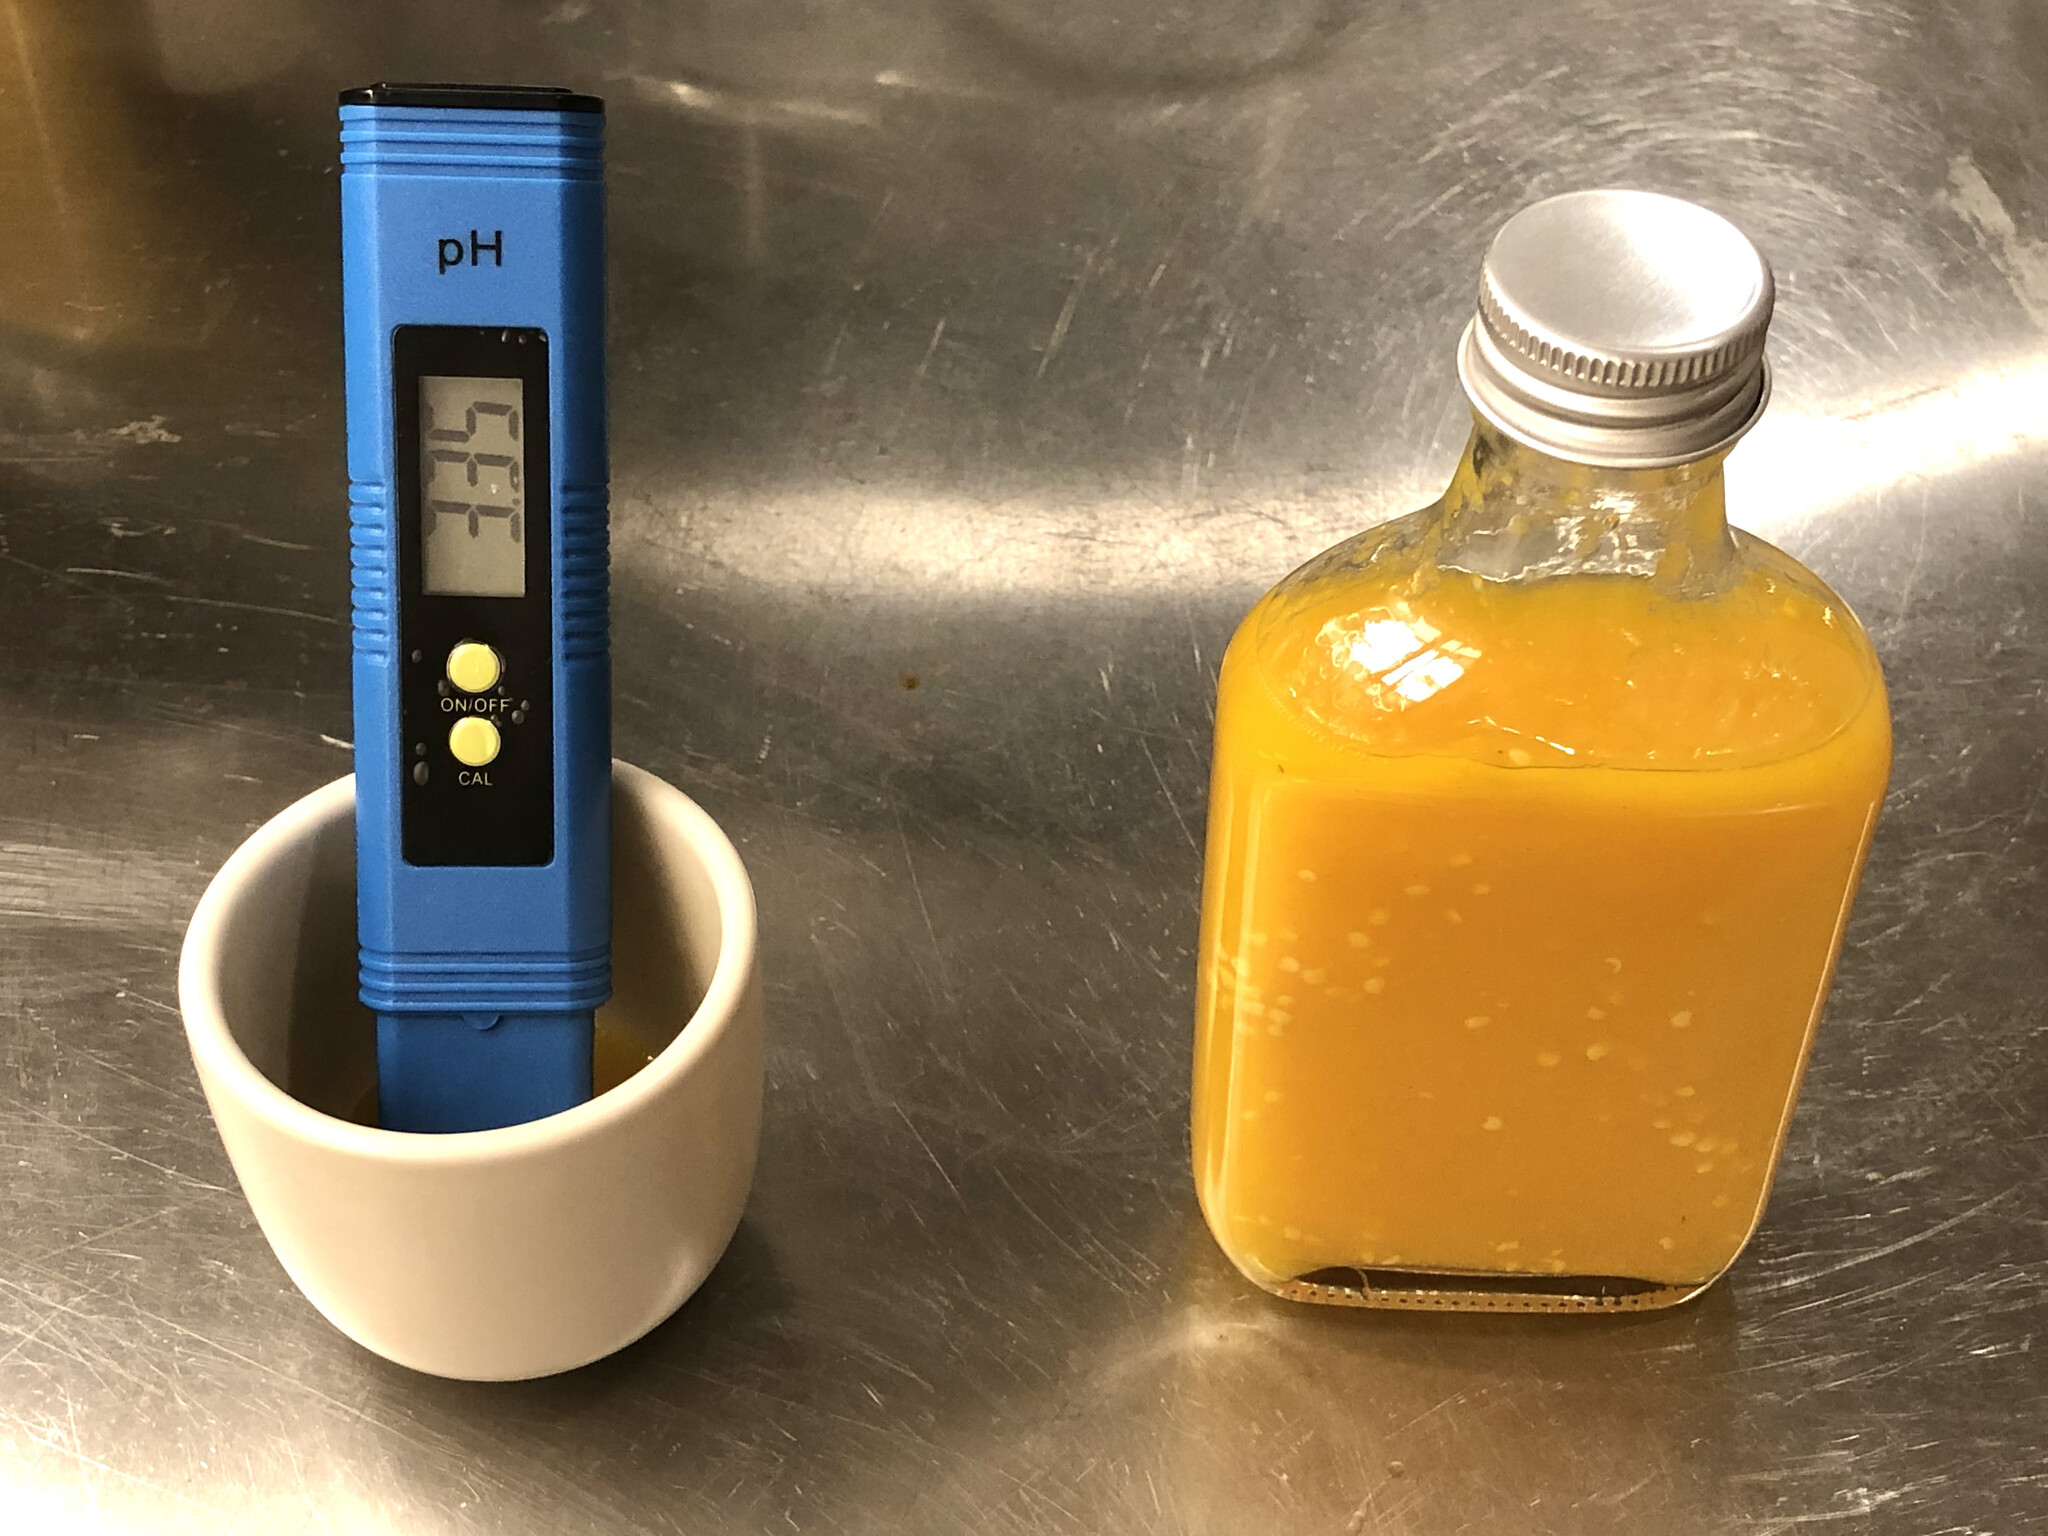
Measure the pH of your sauces: pour some sauce in a narrow container, immerse the pH meter's electrode in the sauce, get a measurement. Rinse and repeat for your other sauce. Throw the sauce you used for measurement out - you might have used your pH meter for something non-food-safe before.
pH 4.6 is the cutoff for safe pH levels for professional processors using tested and approved recipes with good quality pH meters for pH testing during and after processing. Since this information is for home sauce makers, the target pH level should be at least pH 4.0 or below. That allows for inaccuracies in testing equipment for those who have a pH meter and variations in the natural pH of food items used. pH levels can vary from one batch to another, so targeting pH 4.0 or below will give you a safety margin.
— The Hot Pepper Forum, Making Sauces 101
Assorted thoughts
This was a super fun Saturday 2020-10-31 spent with excellent peppers and my lovely partner, and we should definitely do this again.
The observant reader might be thinking what happened to the Aji Cristal peppers. This is where I got less lucky: most of those peppers were rotten, soft, and moldy inside. The few fresh and healthy peppers were not enough for a meaningful sauce, so I just cut the stems off and froze the peppers for later use.
The Scotch Bonnet is probably my favorite chili pepper by far. The fruitiness is incredible, and the heat level is perfect for sauces. Very hot indeed, similar to other habaneros, but definitely not in the difficult-to-use superhot peppers territory.
Making flakes took a long time, but was fairly hands-off for most of it. Non-fermented sauces were also easy to make, and rather quick. The fate of the fermented sauce will be posted in a part 2 later.
Have fun with chili peppers - and feel free to send a tweet or email at me showing your creations!
yes, technically this makes 1025 grams of solution of which 25 grams is salt, so you end up with 2.439% salinity. should be fine.
"The Carolina Reaper is a cultivar of the Capsicum chinense plant. Developed by South Carolina breeder Ed Currie, the pepper is red and gnarled, with a bumpy texture and small pointed tail. In 2017, Guinness World Records declared it the hottest chili pepper in the world, surpassing the previous record holder, the Trinidad Scorpion "Butch T". Other varieties may be spicier, such as Dragon's Breath or Pepper X but are not officially confirmed with a Scoville scale higher than the Carolina Reaper." Wikipedia Carolina Reaper retreived 2020-11-01.
this ended up being super late into the night and i had a bit of a trouble with containers and ended up not getting an exact measurement. rough ballpark of the 90% reduction isn't too far off though.
again, these flakes finished super late, and these pictures ended up having a bit too yellow of a white balance due to different lights being on & messing up the edits a bit on the phone. i didn't want to go back and re-edit though, because these pictures were already posted as part of a twitter thread. the dried peppers aren't quite this yellow/warm after drying, but it's also not terribly off. aaaanyway.
i am not a professional, this is not health advice - but the general consensus on forums etc seems to be that properly bottled, low-enough-pH sauces should be shelf-stable for some months to a year. opened, refridgerated sauces should be consumed faster, probably within some weeks.